Your Complete Guide to the Kreg 520 Pro + Instructions & Review

Today, we’re doing a deep dive into a useful piece of tool in our workshop that we’ve personally been using for a few months – the Kreg 520 Pro. Designed for drilling pocket holes in a breeze, this is a breakdown of our experience with the tool.
Is it an essential jig in any DIYer’s toolkit, or is this Kreg pocket hole jig to be avoided?
We’ll cover everything you need to know about this exciting piece of kit for your future pocket-hole projects, including how it works, why you would use it, and whether the experience is worth it.
Without further ado, let’s jump in!
This Kreg 520 Pro guide contains affiliate links, but nothing that I wouldn’t recommend wholeheartedly. Read my full disclosure here.
Introducing the Kreg 520 Pro
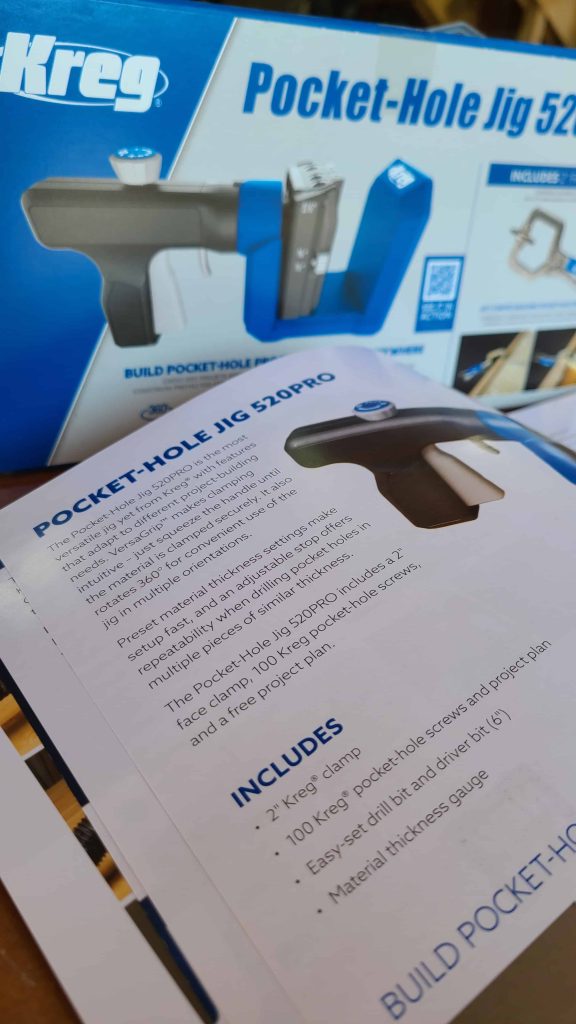
The Kreg 520 Pro came out in 2021 and is marketed as one of the most versatile, fully-featured jigs. Capable of drilling pocket holes on materials from ½” all the way up to 1 1/2″ (which is how thick a 2×4 is), no doubt this is a beginner-friendly jig that packs a punch.
I’m a big fan of the 520’s older sibling, the Kreg 720 Pro, so I was excited to give it a try.
To give you a quick rundown of the features, the Kreg 520 Pro includes;
- GripMaxx anti-slip clamping for holding your material in place
- Integrated pistol grip clamp with a pump-action mechanism (this was a new feature of the 2021 release)
- A solid steel frame construction with an impact-resistance build, so it doesn’t matter if you drop it
- A Versagrip 360-degree handle for controlling the device at all angles (this was a new feature of the 2021 release)
- Easy-set drill bit with etchings on the side to quickly adjust the stop collar
- A lifetime drill guide warranty, so you know it’s built to last
Depending on where you get it from, the 520 also comes with a free project plan organizer and Kreg pocket-hole screws of two different sizes. And if you’re wondering, yes you do need to use pocket hole screws when using pocket hole joinery. The extras are a nice touch and a great incentive that makes this jig much more attractive.
It’s clear Kreg has gone for a lightweight and portable approach, which is reflected in the lower price tag of under $90. An excellent price for DIY hobbyists but still packed with enough features for someone in need of a serious piece of equipment that gets the job done.
That being said, the 720 offers more features, but then it’s a higher price tag. That includes features like the automatic clamping system – meaning you don’t have to measure your material thickness and make any adjustments on the drill block itself.
The 520 may lack the automatic drill block, but the setup process is straightforward to use and doesn’t feel like an issue to miss this luxury. It literally only takes about 30 seconds to adjust the drill block, so not a huge hassle.
Kreg 520 Pro: Video Guide For Beginners
If you love DIY videos, don’t forget to subscribe to our YouTube channel!

In the Box
Just quickly, in the box of this benchtop jig, you’ll find:
- The Kreg 520 Pro pocket hole jig
- The easy-set drill guide block (where you put your drill to make the pocket holes)
- Easy-set drill bit with adjustable stop collar
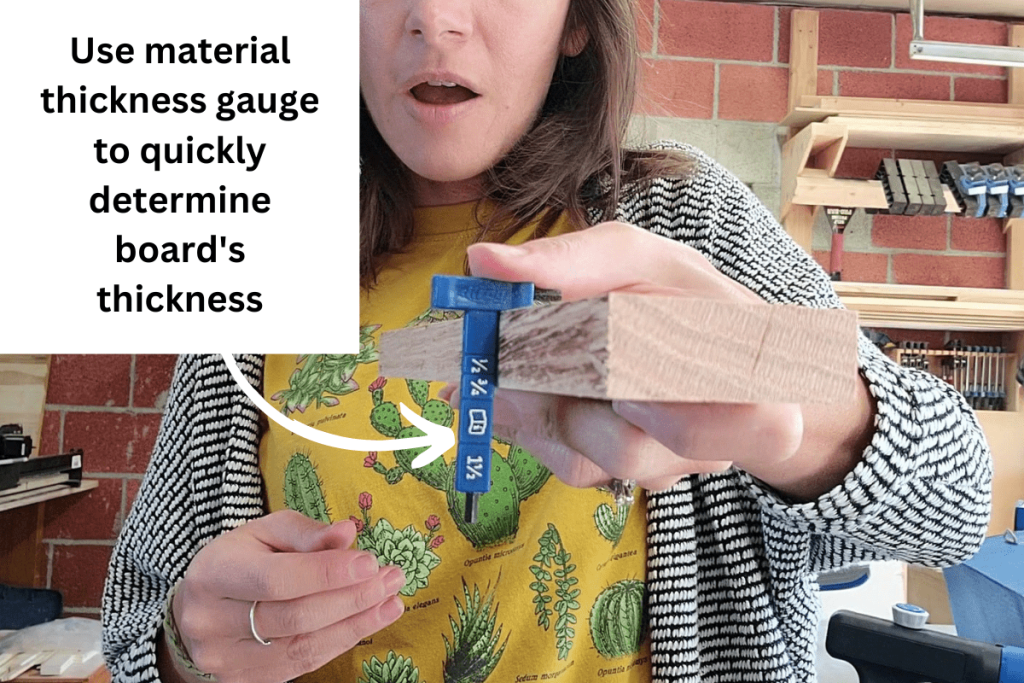
- A material thickness gauge to make it easy to set where you put your clamp
- A hex wrench
- A driver (6″)
- A face clamp (2″)
There’s also an instruction manual that walks you through the entire process of using the jig in detail.
It has some really nice packaging, but no storage case or box, so you’ll probably want to find a plastic container box to keep it nice and clean when stored away and not in use. You could build something like this DIY tool organizer to store it under a clamp table.
Using the Kreg 520 Pro
Okay, with the technical bits out of the way, let’s get into the meat of this – using the Kreg 520.
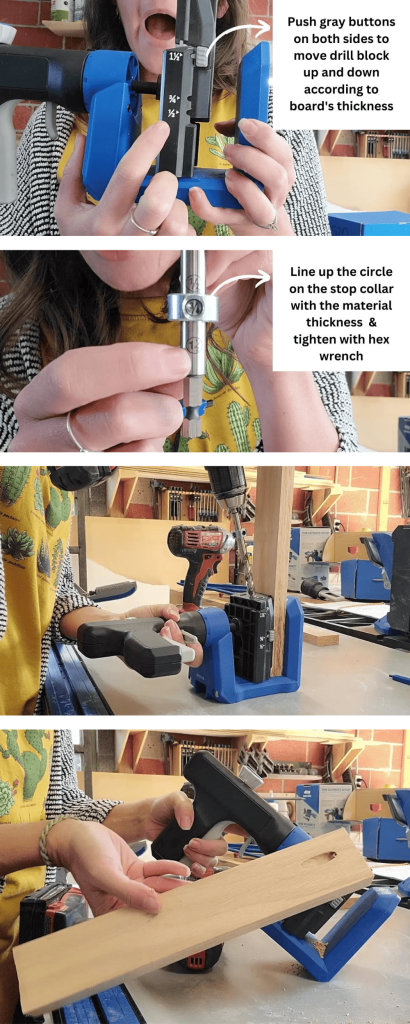
1. Measure the material thickness and adjust the drill block
First, measure out the thickness of your piece of wood using the thickness gauge or a tape measure, and then set your 520 drill block to that thickness.
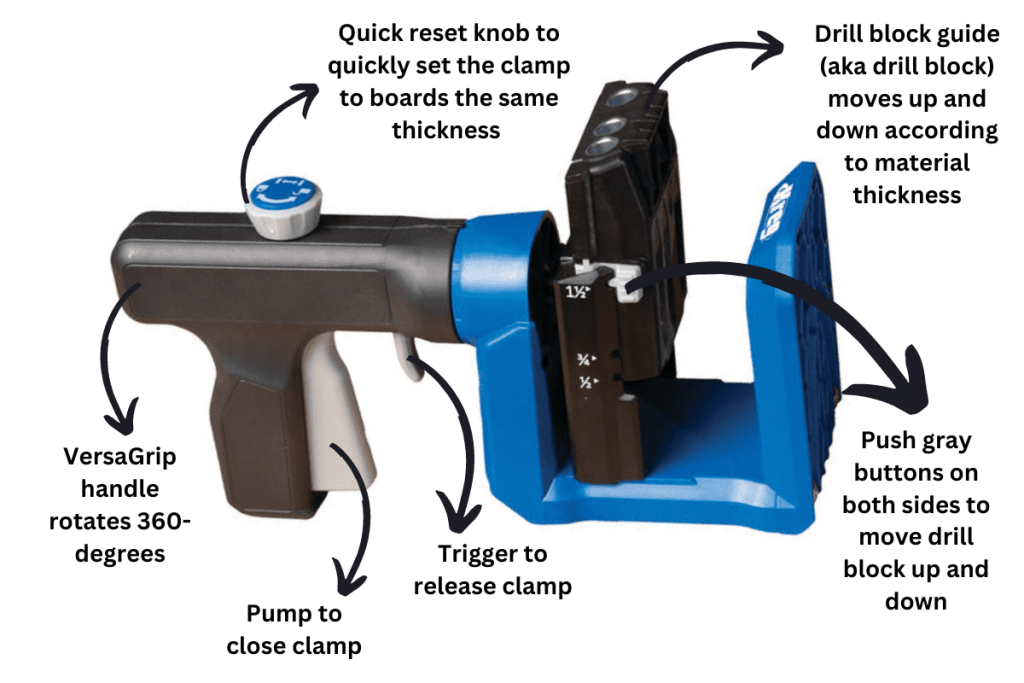
When using the Kreg 520 Pro, you need to manually change the drill block’s height according to the thickness of your material (1/2″, 3/4″, or 1 1/2″).
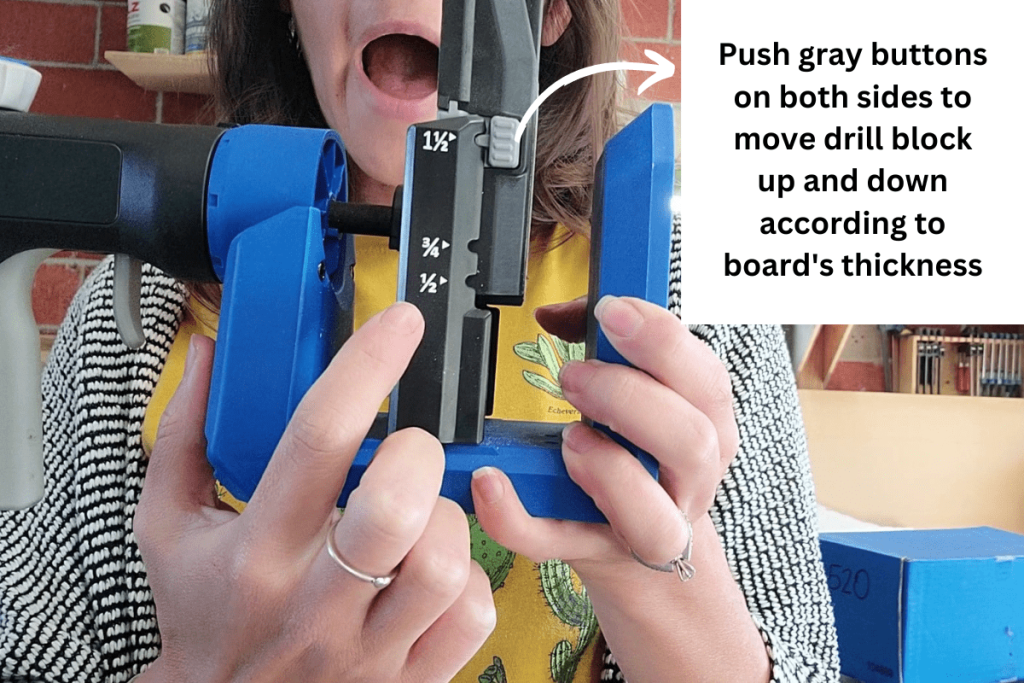
But, no worries, it’s so simple thanks to the little gray buttons on the side of the drill guide. Granted, I found it a little tight to use the first few times.
Then again, I’ve got pretty weak hands anyway, so maybe it’s just me, but using two hands seemed to get the drill block in place quite quickly. When you hear the gray buttons click into place, you know you’ve got it secured.
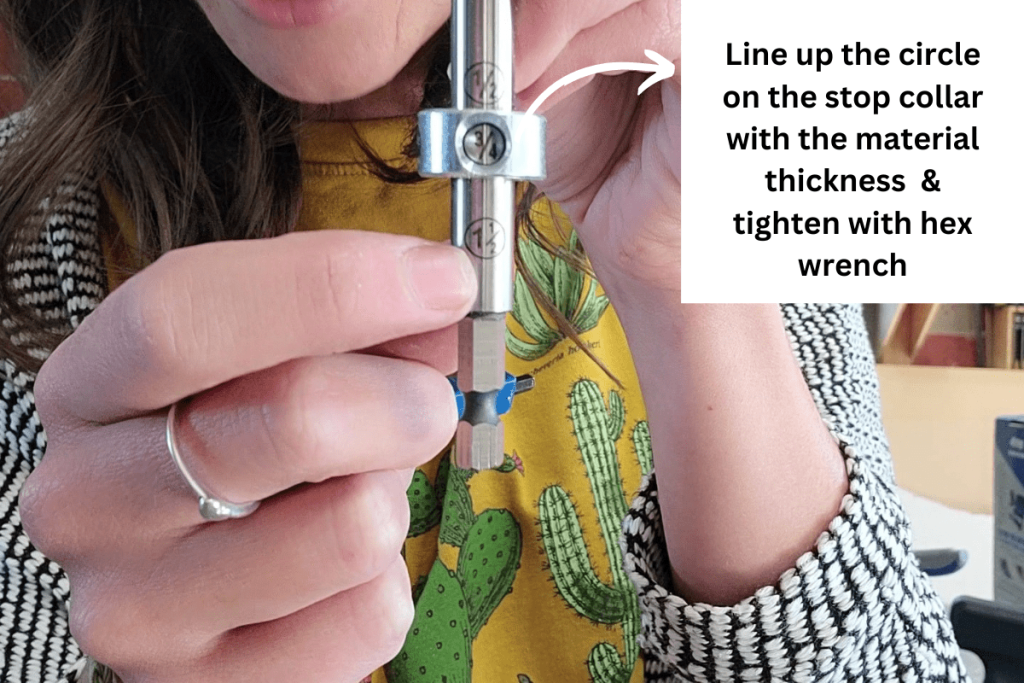
2. Set the stop collar on the drill bit
When everything’s in place on the jig, next you will use the hex wrench on the same thickness gauge to set the stop collar along the drill bit, matching it to your material’s thickness.
Again, all the common settings for lumber sizes are here. The etchings on the side of the easy-set drill bit make lining everything up accurately a breeze.
All you have to do is line up the circle on the stop collar with the etching that matches your material thickness and tighten it into place with the hex wrench.
I love the attention to detail on this part, and it certainly helps save a lot of time and minimizes the risks of making a silly mistake.
3. Drill your pocket holes
With the drill block set and the drill bit adjusted, you’re basically ready to go.
Simply place your board into place and tighten the pocket-hole jig clamp using the pump on the handle.
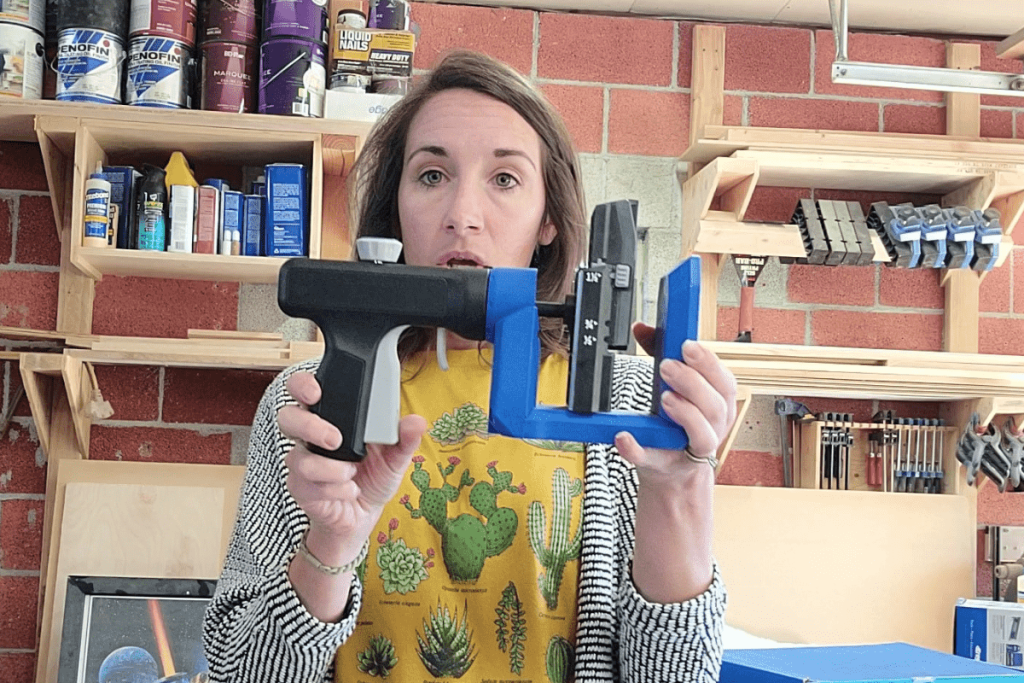
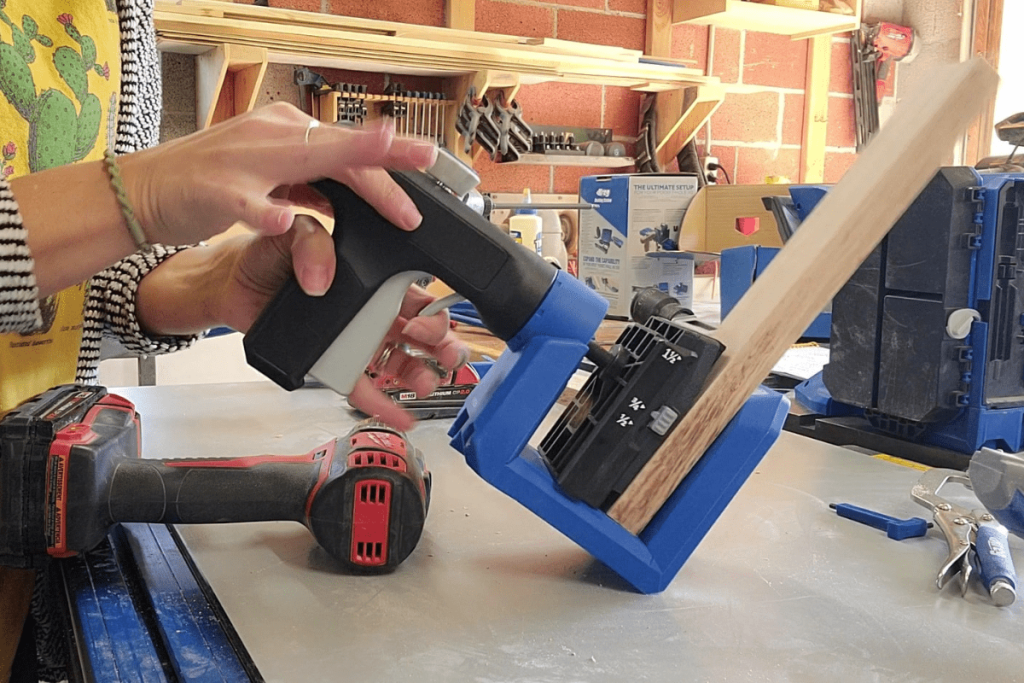
Remember that you can completely rotate the handle 360 degrees to any position you’d like. You can drill vertically or even upside down. Take a look at the picture below to see what I mean.
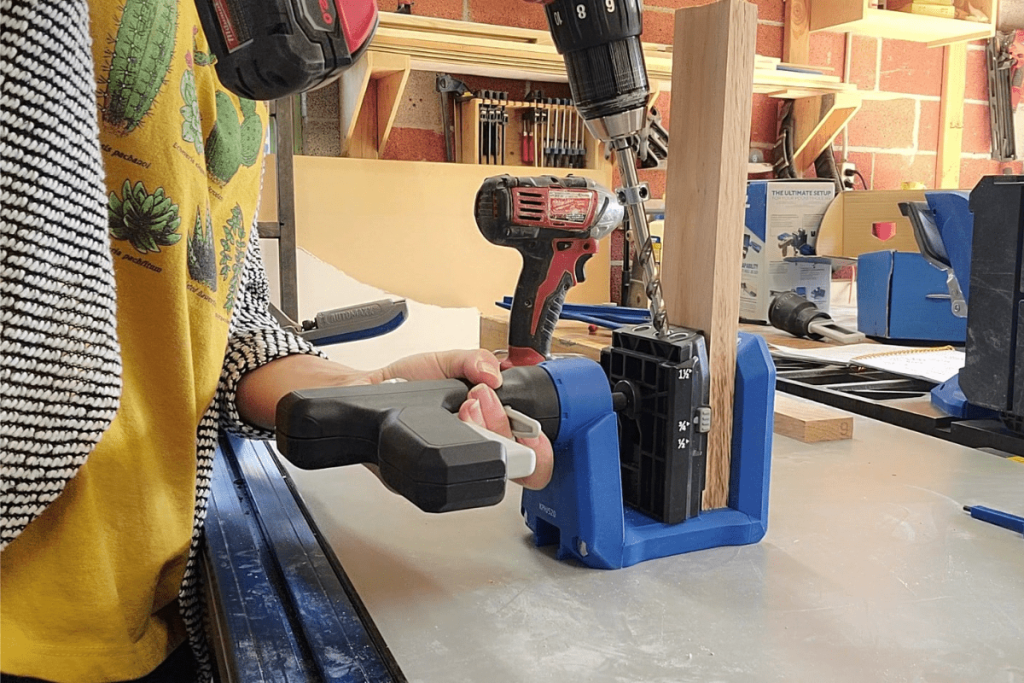
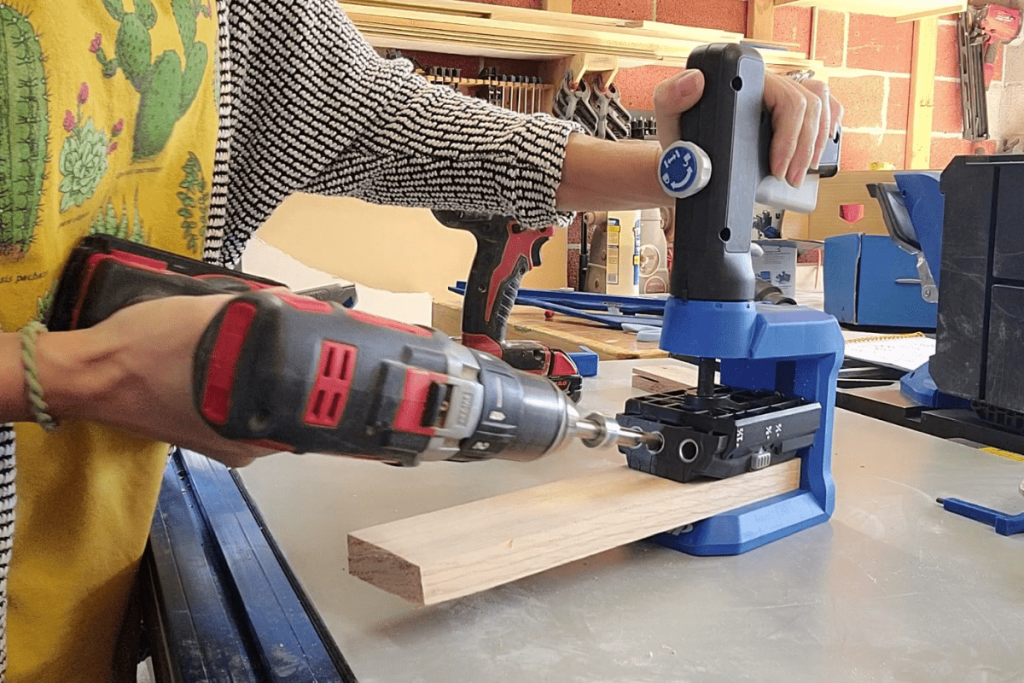
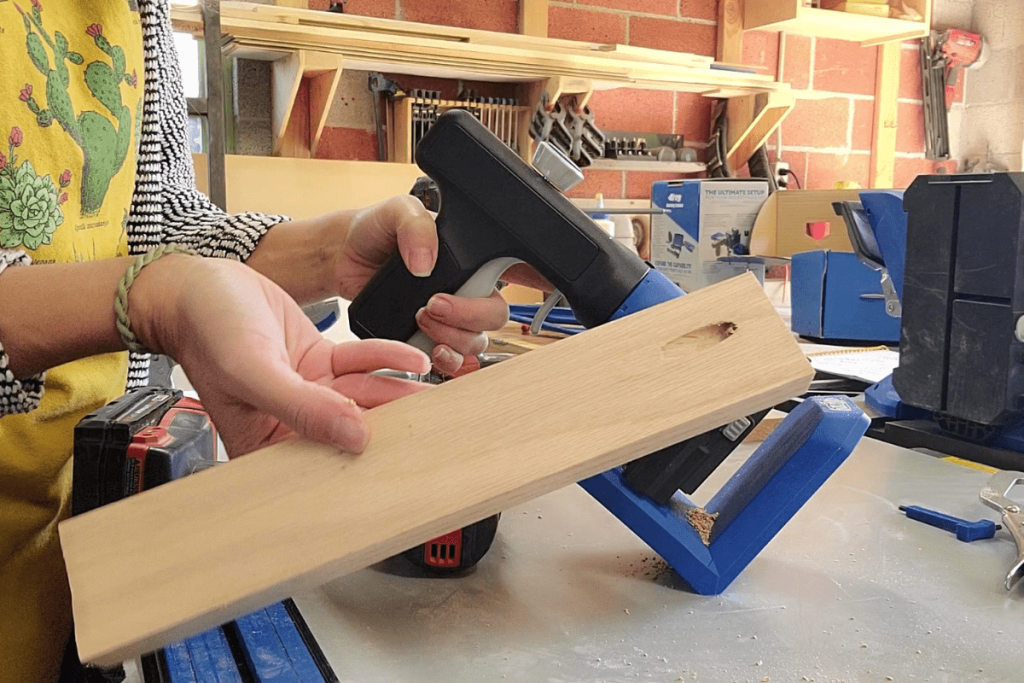
Take your power drill and drill down carefully until you meet the depth stop collar, retract the drill, and that’s it!
You’ve got a perfect pocket hole drilled in minutes.
After that, just remove the material by releasing the clamp by pushing the trigger, and you’re done!
Quick reset feature on the clamp
I also didn’t realize until I got to this stage that if you’re making pocket holes in pieces of similar thickness, there’s a quick reset knob at the top so you can remove your board and put in a new one in seconds without having to repump the clamp into place with the trigger handle.
Handy stuff!
To use the quick reset feature:
- Pump the handle to clamp your board securely in the jig
- Tighten the knob at the top by hand until it is tight.
- Drill your pocket holes.
- Pull the quick-release to move the clamp back just enough to release the workpiece.
- Align to your next hole location and squeeze the handle two or three times to quickly re-clamp it to a similar material thickness.
- When you’re done working with that material thickness, you can set the clamp back to normal by loosening the knob and pulling quick-release to open the clamp to the max opening
As with anything like this, it can be a little fiddly the first few times you do it, but after a few tries, you’ll be making accurate pocket holes effortlessly.
Perfect pocket holes drilled out in minutes, precise every time!
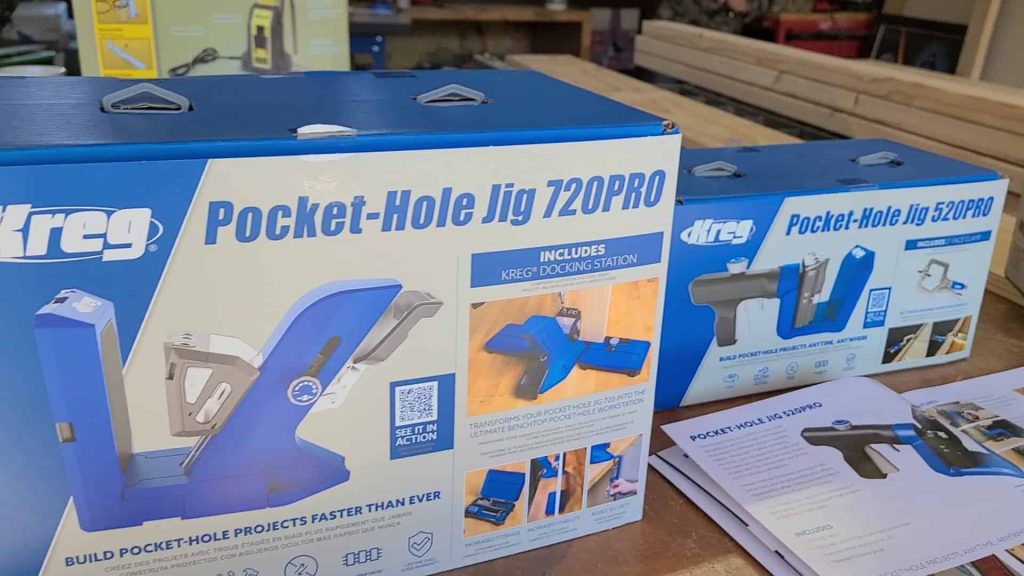
What are the main differences between the Kreg 720 and the Kreg 520 Pro?
There are a few, and I’ll breeze them super quickly, so you know what you’re dealing with if you’re trying to decide between the Kreg 720 Pro and the Kreg 520.
- The 720 needs a solid surface (like a workbench) to be clamped onto, so it is great as a stationary pocket hole jig that lives permanently in your workshop. Whereas the 520 can clamp straight onto the workpiece, meaning the 520 is way more portable and can be used just about anywhere!
- The Kreg 720’s drill block automatically adjusts to your material’s thickness with the AutoMaxx clamp, whereas the 520 drill block height has to be manually adjusted and can be used primarily for standard material sizes (1/2″, 3/4″ and 1 1/2″).
- The 520 doesn’t have built-in storage like the 720, meaning you’ll have to find safe places for all your drill bits and tools to avoid losing them.
- The 720 Pro comes with a docking station with storage in the wings, but the 520 doesn’t, although you can buy one separately for about $50-60, which is definitely something you’ll want to consider if you’re using this tool a lot for pocket-hole joinery.
- The 520 Pro is roughly $50 cheaper than the 720 Pro.
Kreg 520 Pro Advantages
- Portable and lightweight
- Handle that rotates 360 degrees to give you flexibility, so you can find a position that is comfortable for you and allows you to position the jig upside now to drill pocket holes on large sheets.
- An affordable option for beginners!
- Works with the Micro-Pocket hole drill guide to make smaller pocket holes
Kreg 520 Cons
- No built-in storage to store your drill bits and drivers
- No docking station (but can add on a docking station sold separately)
- No ability to attach a ShopVac to the drill block to cut down on sawdust
- Cannot use the custom pocket hole plug cutter
Kreg 520 is great for:
- Beginner DIYers that are just getting started with pocket hole joinery and don’t want to make the full investment with the 720 (520 is about $50 cheaper than 720)
- Woodworkers that are on the go a lot and bring their pocket hole jig with them
- Someone that uses pocket holes on large sheets of plywood frequently
My Final Review of the Kreg 520 Pro
Overall, the 520 version of the Kreg pocket hole jig is a great option if you’re going to be building woodworking projects using pocket hole joinery.
Sure, it’s not as fully loaded as the 720, and with a price difference between the two of around $50, but the docking station for the 520 costs the same as the difference between the two, it’s definitely a toss-up between the two.
That being said, if you’re looking for a lightweight, beginner-friendly option for drilling pocket holes in your DIY woodworking projects and want to save $50 and have access to everything you need straight out of the box (including screws), the 520 is a fantastic model that’s going to satisfy you during your next pocket hole project. If you plan to take your pocket hole jig on the go a lot, the 520 is more portable, making it a better option for taking with you.
It’s a portable jig. The most versatile jig that Kreg makes. A jig that goes above and beyond expectations.
This is an excellent option for quickly tackling large boards (like plywood sheets) and materials, and I highly recommend this tool if you’re shopping on a budget but want the job done right.
And, at the end of the day, Kreg products are renowned for their high-quality manufacturing and accurate results, so you can’t really go wrong!