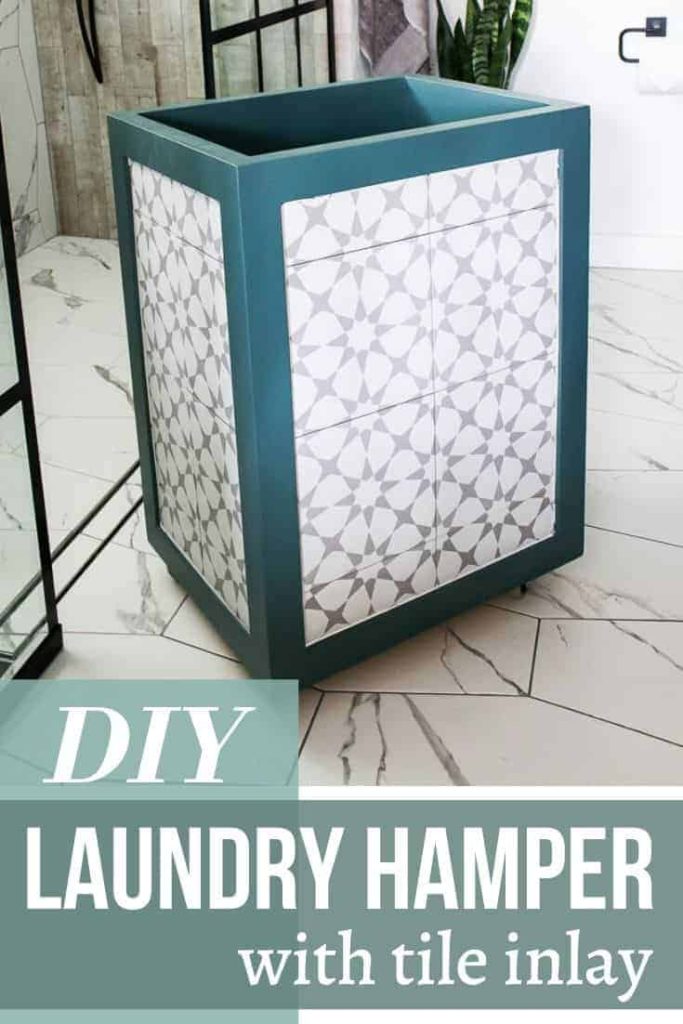
DIY Hamper With Tile Inlay

This pretty alternative to a boring laundry hamper is so fun and unique! Learn how to build a DIY hamper with this step by step tutorial.
So, let me tell you a little story. Sometimes when I’m designing a new room in my mind, I think I have alllllll the space in the world. I dream up all the furniture we could build and all the decor we could add.
But reality always sets in when I physically get into a space and start measuring and getting a feel for things. And sometimes I have to pivot and switch gears when I don’t have quite as much space to work with as I thought.
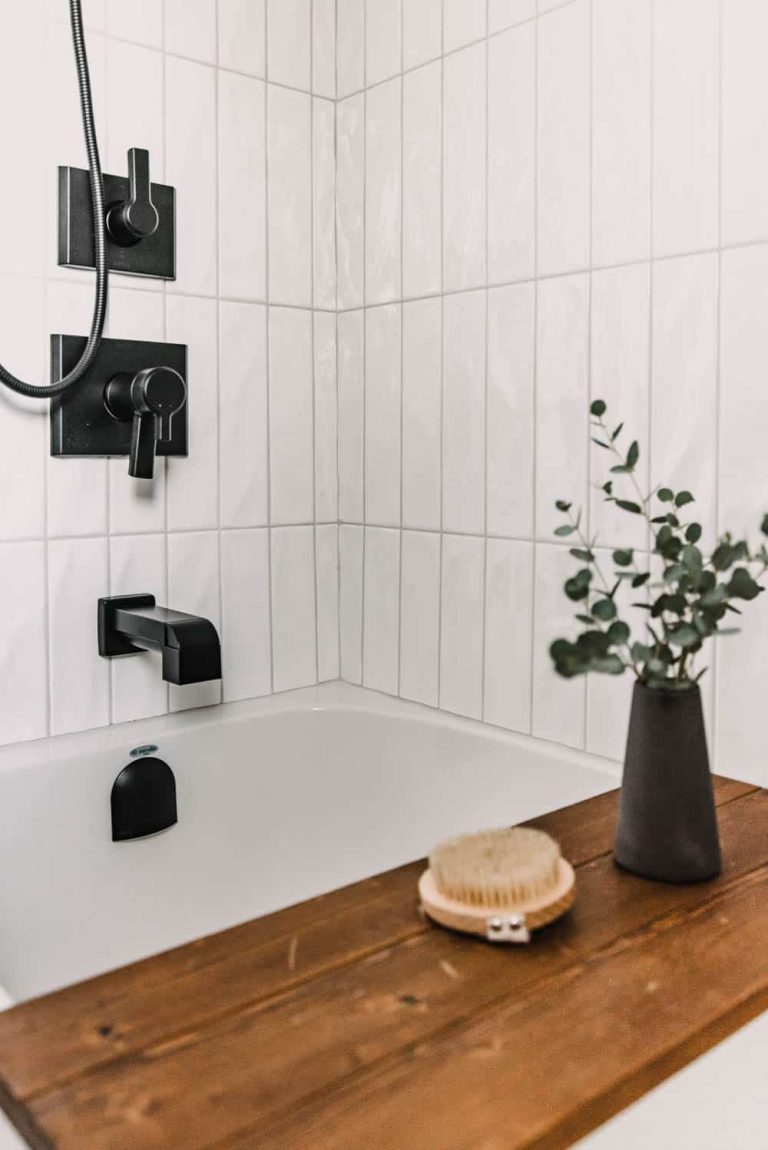
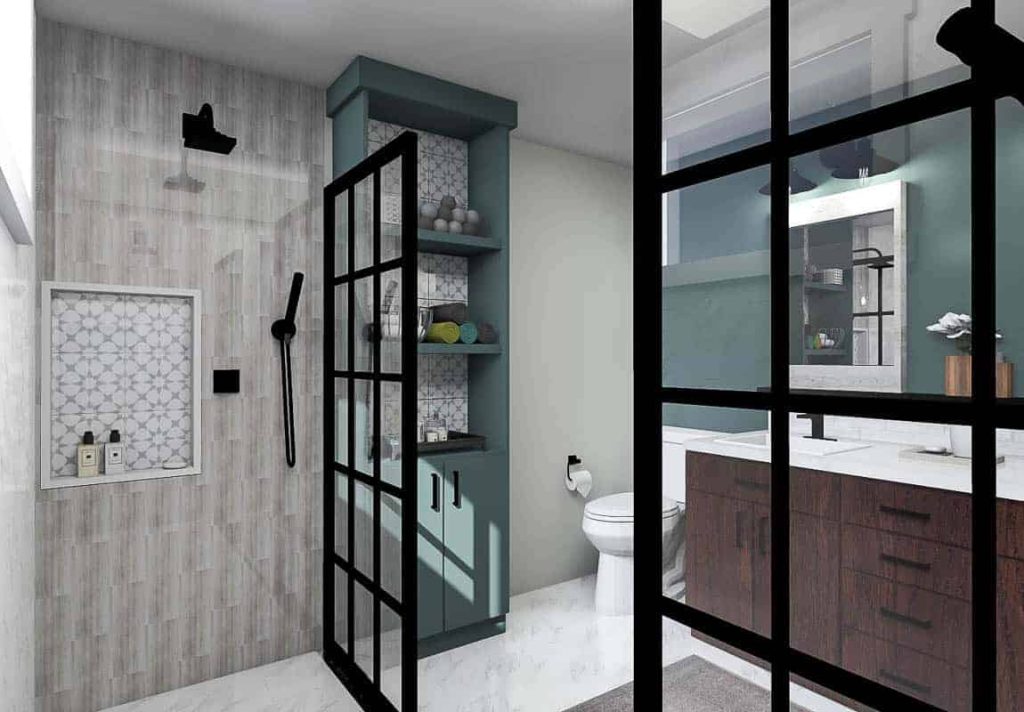
That’s what happened in our bathroom that we renovated last year.
You see, I had a plan in place. We were going to build a lovely linen cabinet with a DIY laundry hamper built right into it. We were going to paint it a pretty green and inlay tile onto the back of it. It was going to go next to the shower and be a perfect focal point. I had big dreams, friends.
Want to catch up and see more about our master bathroom renovation?
- Week 1: How to Demo A Bathroom
- Week 2: Modern Bathroom Design Plans
- Week 3: Everything You Need To Know About Large Format Tile
- Week 4: Can An Ensuite Bathroom Add Value To Your Home?
- Week 5: How To Build A Barn Door
- Week 6: The BIG Reveal
- DIY Hamper with Tile
- Bathroom Renovation Cost (Our REAL Numbers!)
- DIY Shower Guide: Everything You Need To Know
But once we started getting the shower built out and the vanity in place I realized that the cabinet was going to make it impossible to sit down on the toilet, which is pretty important. Hehe!
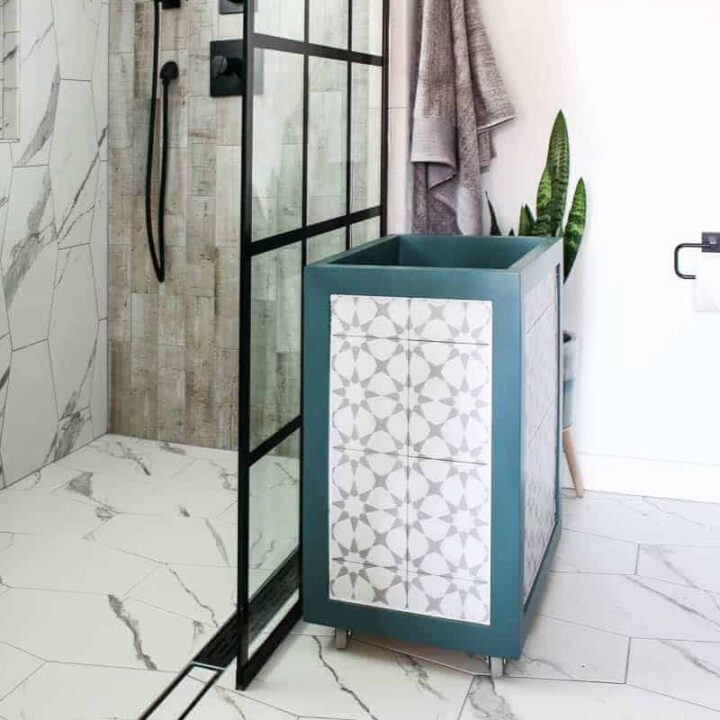
So we changed our plans and decided to build a DIY laundry hamper with wheels and inlay the tile onto the sides of the hamper instead. Pretty cool idea, right?
Well, spoiler alert. It turned out SO GOOD! I love everything about it. And now we’re finally getting around to showing you how we built it.
This fun woodworking project is not too tough to build, even if you are a beginner! (Check out more beginner woodworking projects!)Now, are you ready to learn how to build a DIY laundry hamper with wheels??
This DIY laundry hamper tutorial post contains affiliate links, but nothing that I wouldn’t wholeheartedly recommend anyway! Read my full disclosure here.
How to make a DIY laundry hamper with tile inlay
Materials to make a DIY laundry hamper:
- 1/2″ 4×8 sheet of plywood
- 4 Casters – these ones are great because they are non-marking
- 1″ x 2″ Pine Trim – approximately 33 linear feet
- 1 1/2″ Finish Nails – approximately 150
- Wood Glue
- Tile – we used about 24 pieces
- Premixed Tile Adhesive
- 80, 150 and 220 Grit Sandpaper
- Paint – we used this color
- Caulk
- Polycrylic
Tools needed to make a DIY hamper:
- Table Saw
- Miter Saw
- Wet Tile Saw – learn how to use a wet tile saw here
- Orbital Sander
- Trowel
- Finish Nailer
- Air Compressor
- Nail Set
- Hammer
- 4 inch paint roller & cover
- Paint tray
Step 1. Cut and sand wood
First, you’ll want to mark the wood and plan out your cuts to limit your waste. For the exact size of our DIY hamper, we built it around this hamper insert that we got on Amazon. You’ll see our hamper measures about 15.7 x 11.8 x 23.6 inches, so our DIY wooden hamper allows space for the hamper to sit in with a little wiggle room.
The plywood is used for the edges and bottom of the hamper and the pine trim is added around the perimeter of each edge as shown in the photos.
After you mark your wood, you can start by ripping the plywood down to size with a table saw and use a chop saw (or miter saw) to cut the pine trim pieces. Learn more about types of saws for woodworking to get a better grasp of why those are the best saws for the job.
Once your wood is cut, sand all surfaces with an orbital sander. Start with 80 grit and move on to 150 grit and finish with 220 grit.
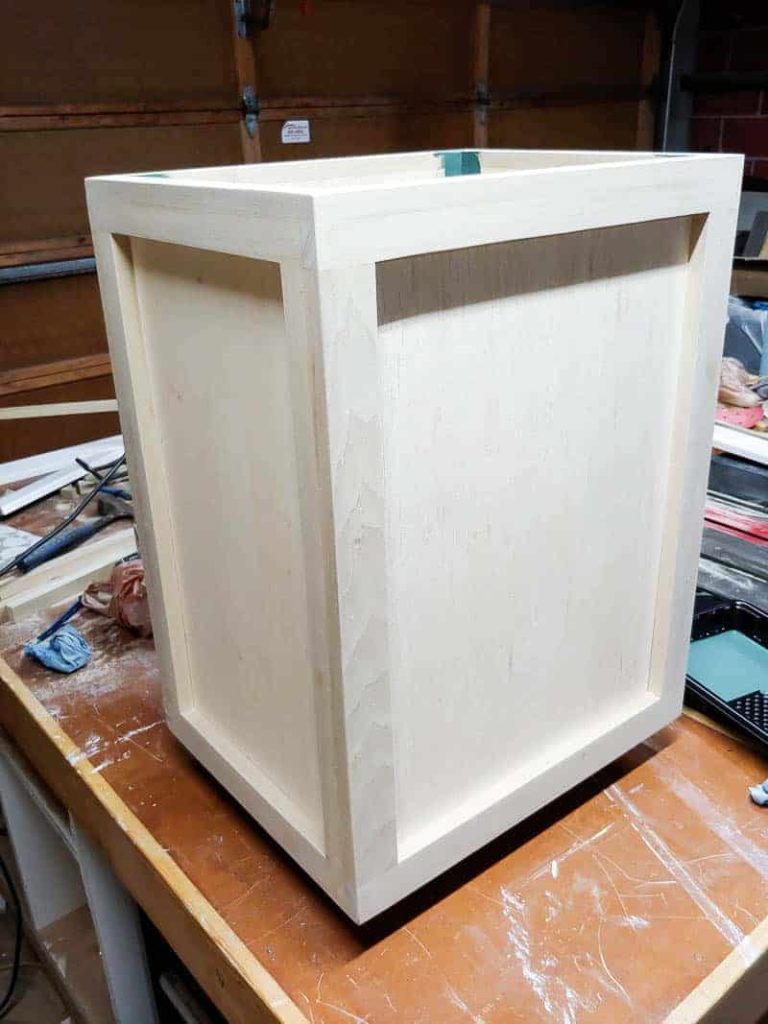
Step 2. Assemble DIY hamper
Next, you can assemble the DIY hamper! Arrange the plywood pieces into a box shape and nail each corner using a finish nailer with 1 1/2 inch nails.
Learn the difference between a finish nailer and brad nailer here to figure out which one is best for this job.
Then you can add the pine trim pieces with 1 1/4″ finish nails.
Step 3. Fill nail holes and gaps
Next, you can fill in the nails holes and any blemishes left over from assembly. Make sure your wood putty is paintable before applying. Once the putty cures, bring out your sander again and sand smooth.
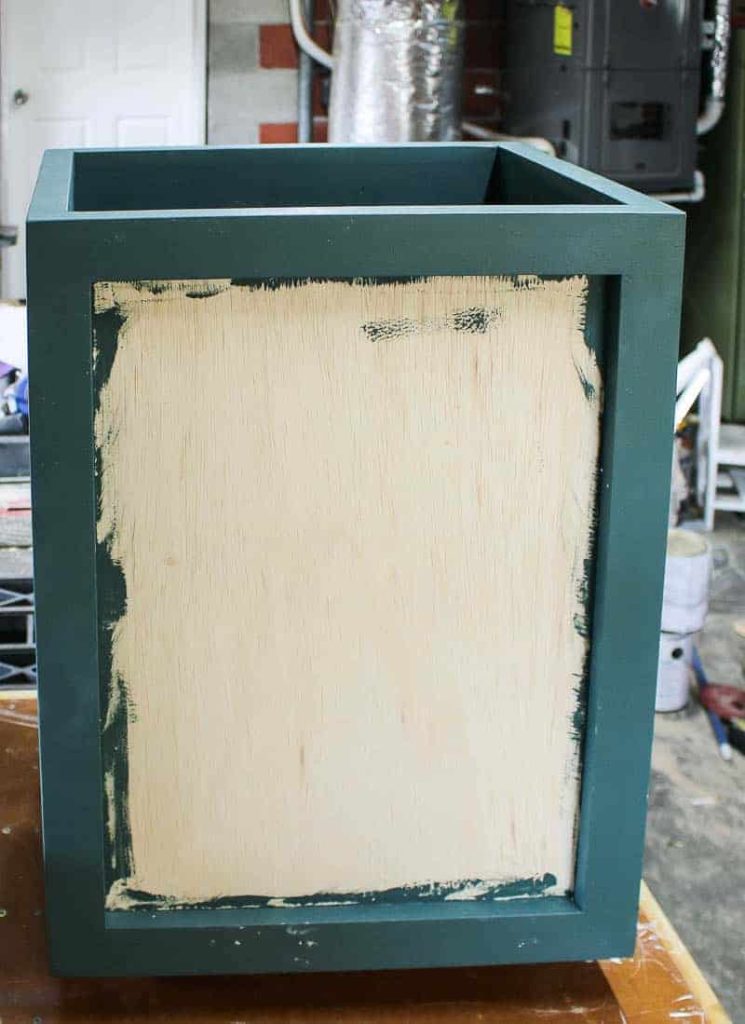
Step 4. Paint hamper
Now it’s time to paint! You only need to worry about painting inside the hamper and on the trim since the tile will be covering the exterior plywood panels. We did 2 coats of this paint color applied with a 4-inch roller.
Step 5. Put on your tile
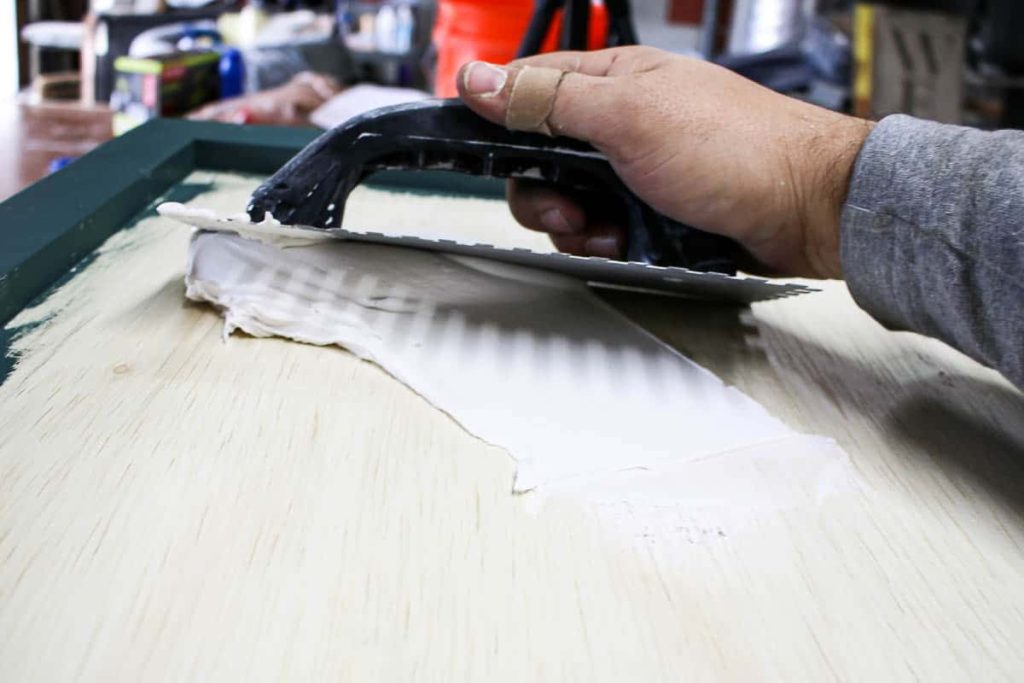
Since you don’t need to worry about your tile being waterproof on the hamper, you’re safe to use a tile adhesive here, but it is much easier to work with than a traditional mortar. We used this tile adhesive.
To add the tile, lay the hamper on its side and just plop the tile adhesive on to the plywood sheet. Use a trowel to spread adhesive out to evenly cover the plywood area.
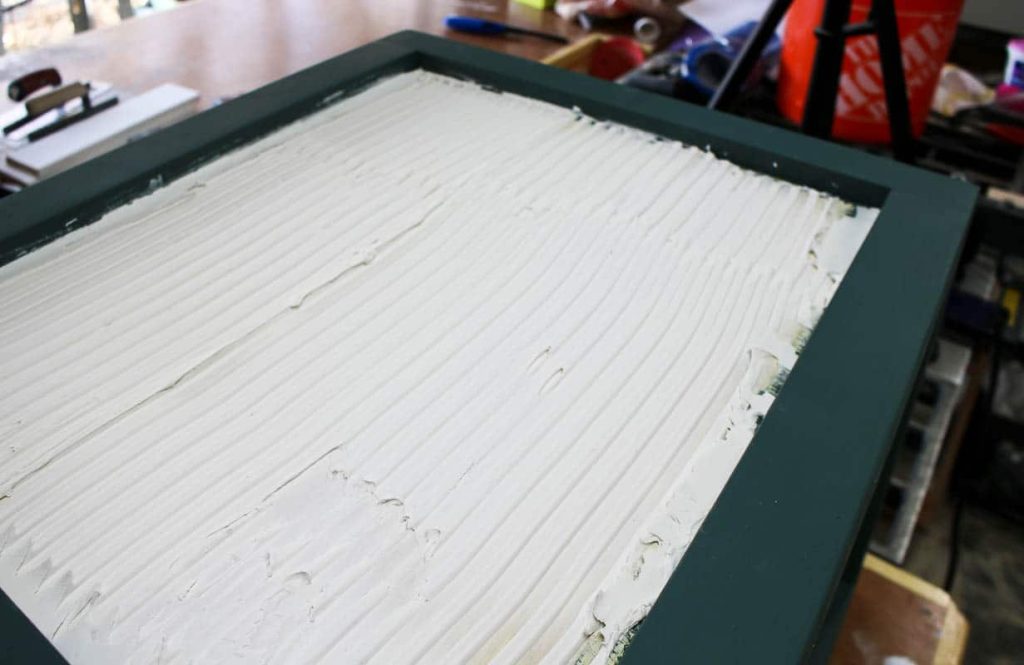
Next, use the side of your trowel to make grooves in the adhesive. Then gently place each tile in place and press down while slightly wiggling. You can use spacers in between the tile pieces if you’d like, but we opted not to.
If needed, cut the tile pieces to fit with a wet tile saw. Learn how to use a wet tile saw here.
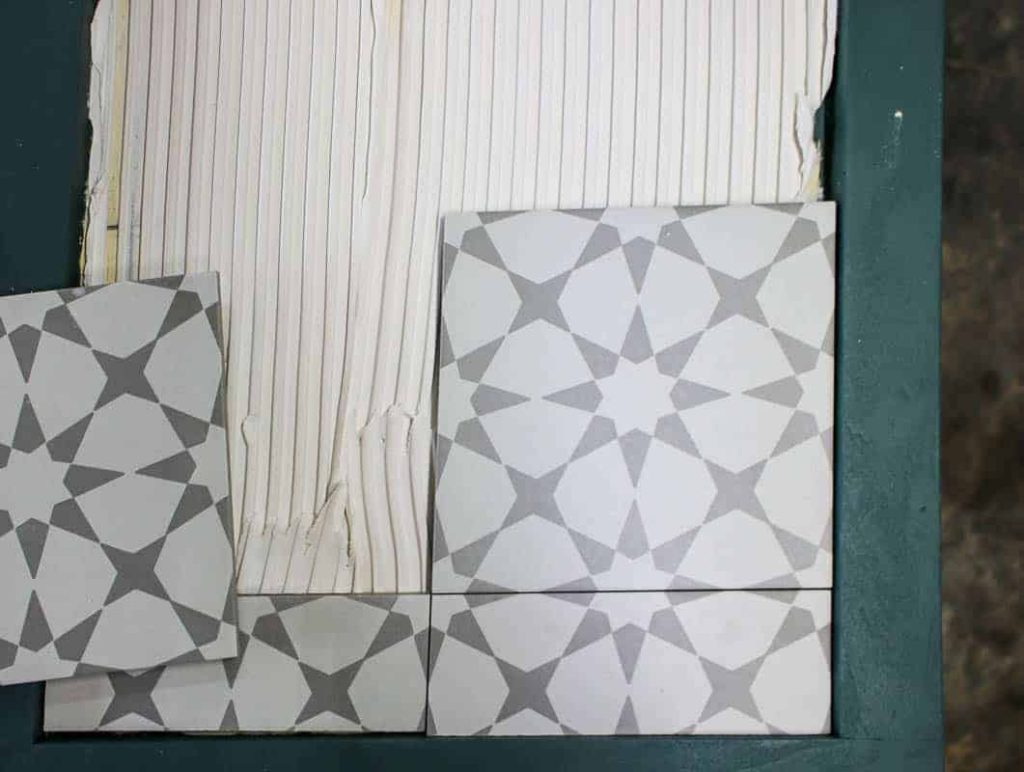
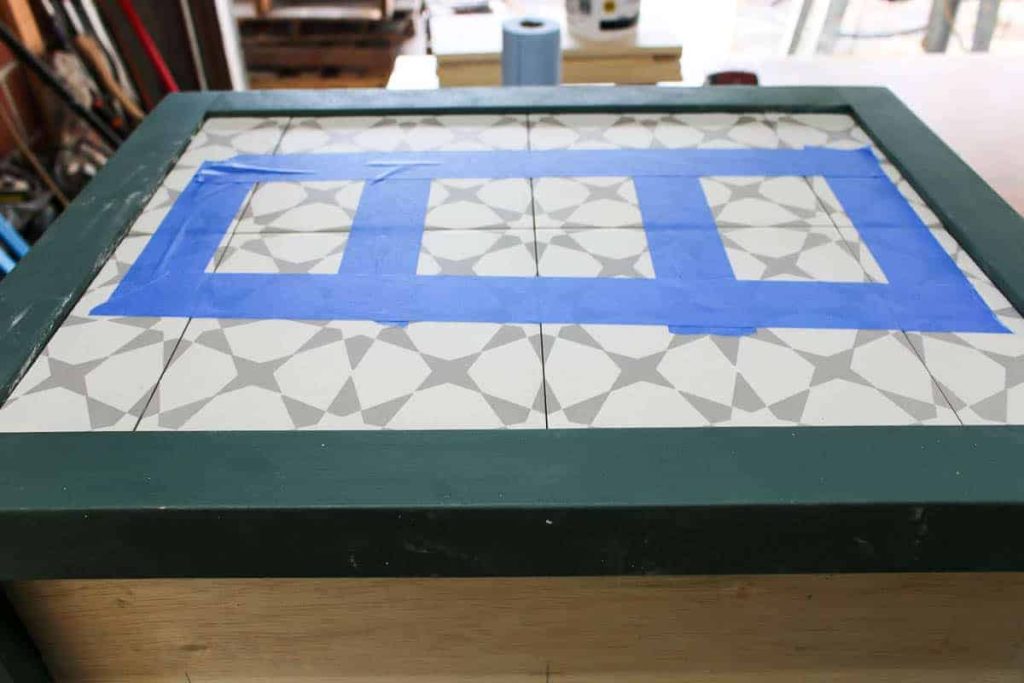
We recommend using painter’s tape to hold your tile pattern in place while it dries.
Once you’ve completed all 4 sides be sure to clean up the mortar by wiping with a damp rag.
You will also probably need to go back and touch up the trim a bit where some tile adhesive got on it.
Note: Depending on your tile choice and spacer size, you may want to grout the tile. Since we didn’t use spacers, there was very little room for the grout and it wasn’t needed. If you do decide to grout, just be sure the tile adhesive is fully dry before doing that. If you do decide to grout, we would recommend using the caulk grout as it’s a little more flexible. You’ll be wheeling this hamper around and traditional grout won’t flex enough to stay in good shape.
Step 6. Caulk
After the tile adhesive was dry, we added a thin bead of caulking into the corners where the tile meets the trim. Before caulking, we added painter’s tape on both the trim and the tile so it was a nice straight line!
If you’re confused about what type of caulk to use and how to apply it – check out our full article of caulking tips and tricks!
Step 7. Apply finish coat
Once your paint is dry you’ll want to put on a finish coat. This step is optional, but the added durability will go a long way to help keep your hamper looking new.
Even though your paint may have a sheen you’ll still want to apply a couple of clear coats of Polycrylic to help your paint hold up.
Wondering if you should use polycrylic or polyurethane for this? Learn the difference here!
Step 8. Put on casters
Once dry, you can add the casters to the bottom of the hamper.
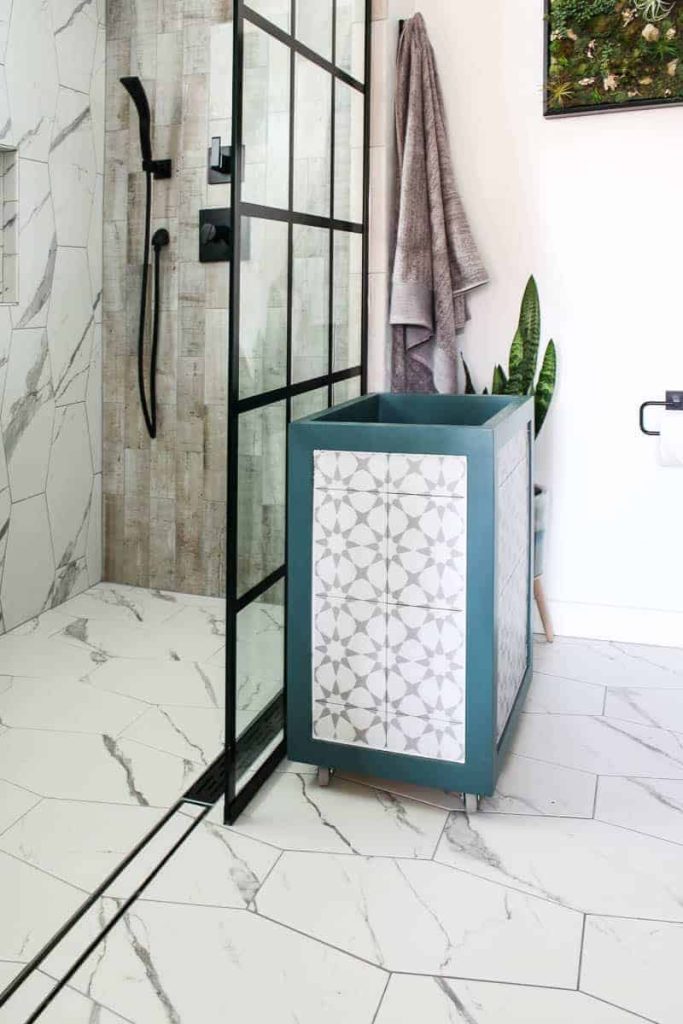
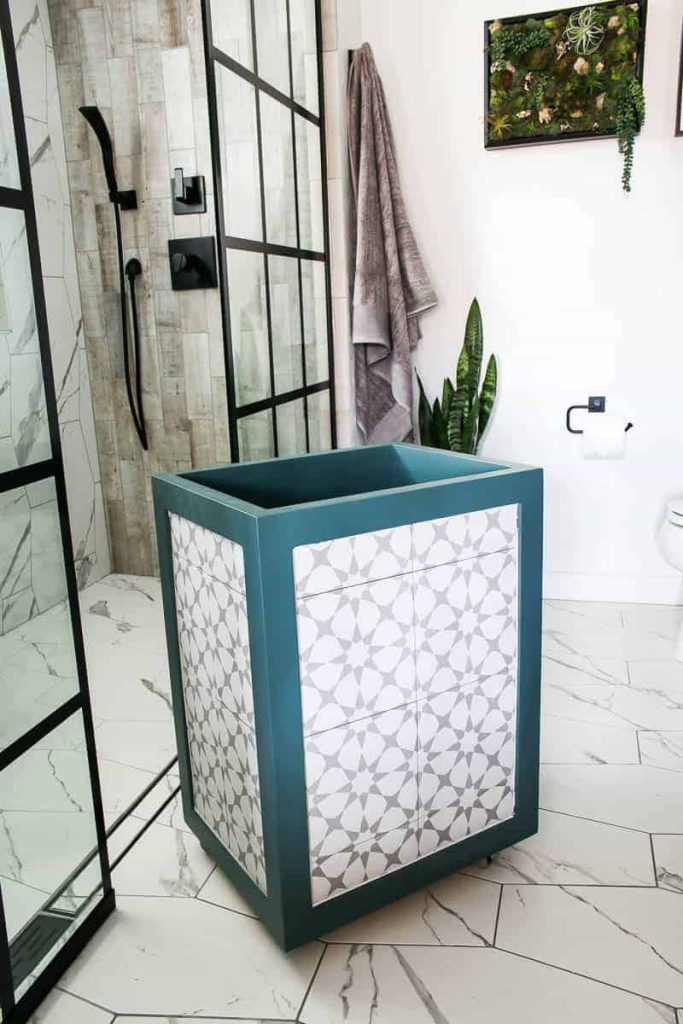
Turned out SO good, right? I love it! Although it totally fits in the bathroom, it does still take up some room so we’ve actually been keeping it in our walk in closet (which is totally due for a makeover!) so that’s why you probably haven’t seen the hamper in photos of our finished bathroom.
How To Make A DIY Hamper
Materials
- 1/2"x4'x8' sheet of plywood
- 4 Casters
- 1"x2" pine trim (approx. 33 linear feet)
- 1 1/2" finish nails (approx. 150)
- Wood glue
- Tile (approx. 24 pieces)
- Premixed tile adhesive
- 80, 150, 220 grit sandpaper
- Paint
- Caulk
- Polycrylic
- Hamper insert
Tools
- Orbital sander
- Trowel
- Finish nailer
- Air compressor
- Nail set
- Hammer
- 4 inch paint roller & cover
- Paint tray
Instructions
- Cut and sand wood. For the exact size of the DIY hamper, we built it around this hamper insert that we were using.
- Assemble DIY hamper with finish nails and add trim.
- Fill nail holes and gaps with wood putty.
- Paint hamper.
- Put on your tile with tile adhesive.
- Caulk in corners where tile meets trim.
- Apply finish coat of Polycrylic.
- Put on casters to the bottom.