DIY Christmas Wall Decor with Ombre Forest Design

I wanted to swap out our wall decor above our couch for the holiday season to bring some extra festivity to the room.
The problem was that it is a large blank wall, so buying large scale wall decor is definitely out of the budget – especially since this will only be used a couple months a year while we have Christmas decorations out.
Related: Want to see more Christmas decor??
- Our Boho Christmas Tree In The Bedroom
- How To Decorate Your Bedroom for Christmas
- 37+ Cozy Christmas Bedding Ideas from Amazon For Your Bedroom
- Mini Wreaths On Kitchen Cabinets for Easy Christmas Decor
- 18 Christmas Stocking Display Ideas
- 10 Things You Need From the Studio McGee Christmas Collection at Target
- DIY Boho Advent Calendar with Yarn Tassel Wall Hanging
- 100+ Gorgeous Boho Christmas Decor & DIY Ideas
- Farmhouse Christmas Tree & Living Room Christmas Decor
- DIY Christmas Village Makeover For Less Than $10
- 10 Things You Need From Hearth and Hand Christmas Collection
- Mini Fabric Christmas Tree
- DIY Wrapping Paper For Christmas Gift Wrap
- Farmhouse Christmas Decor On A Budget
- Believe Christmas Sign with Farmhouse Style
- Farmhouse Advent Calendar
- Farmhouse Winter Tablescape
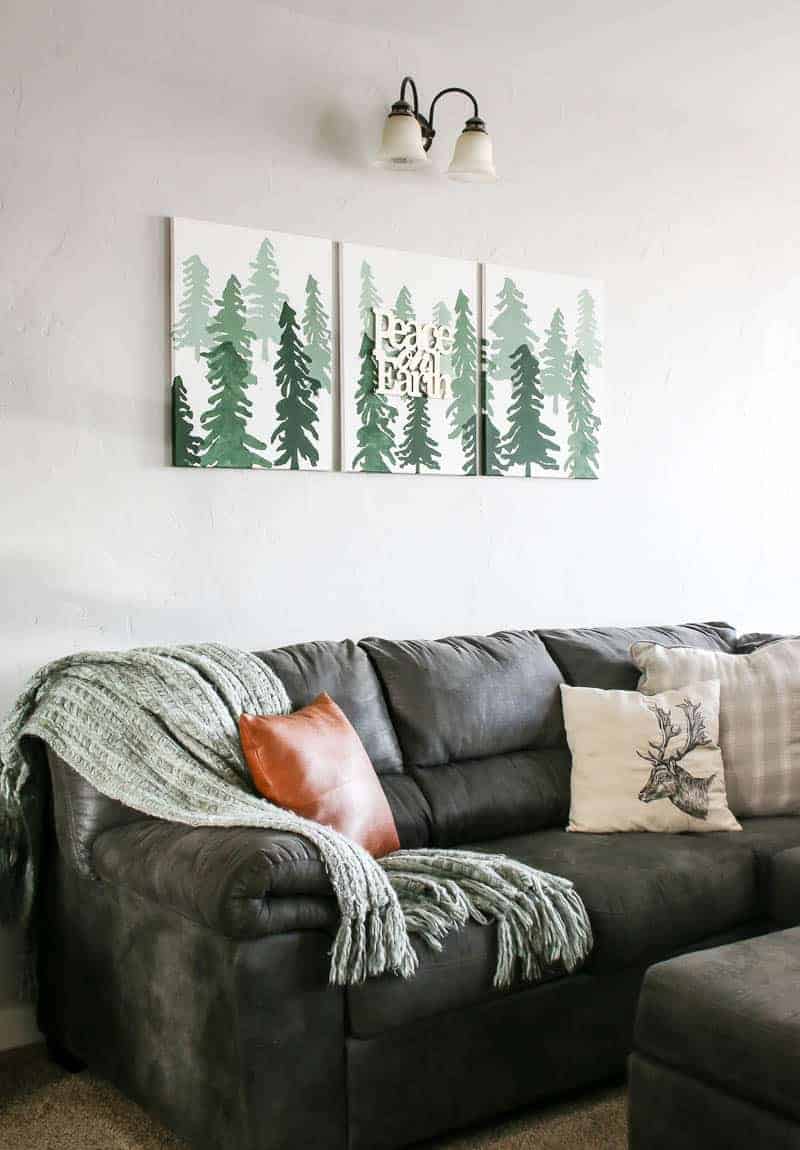
I created this budget friendly DIY Christmas wall decor and it turned out AMAZING!
This DIY Christmas wall decor tutorial contains affiliate links, but nothing that I wouldn’t wholeheartedly recommend anyway! Read my full disclosure here.
Step 1: Print out stencils
I used my Silhouette Cameo to print out various pine tree stencil designs in a few different sizes.
I printed the stencil cut outs on to adhesive shelf liner (also called contact paper) which is a great budget friendly alternative to vinyl if you are making stencils.
If you don’t have a cutting machine, you can find premade tree stencils to buy as well or if you’re feeling artistic – you could totally freehand it!
Step 2: Arrange stencils
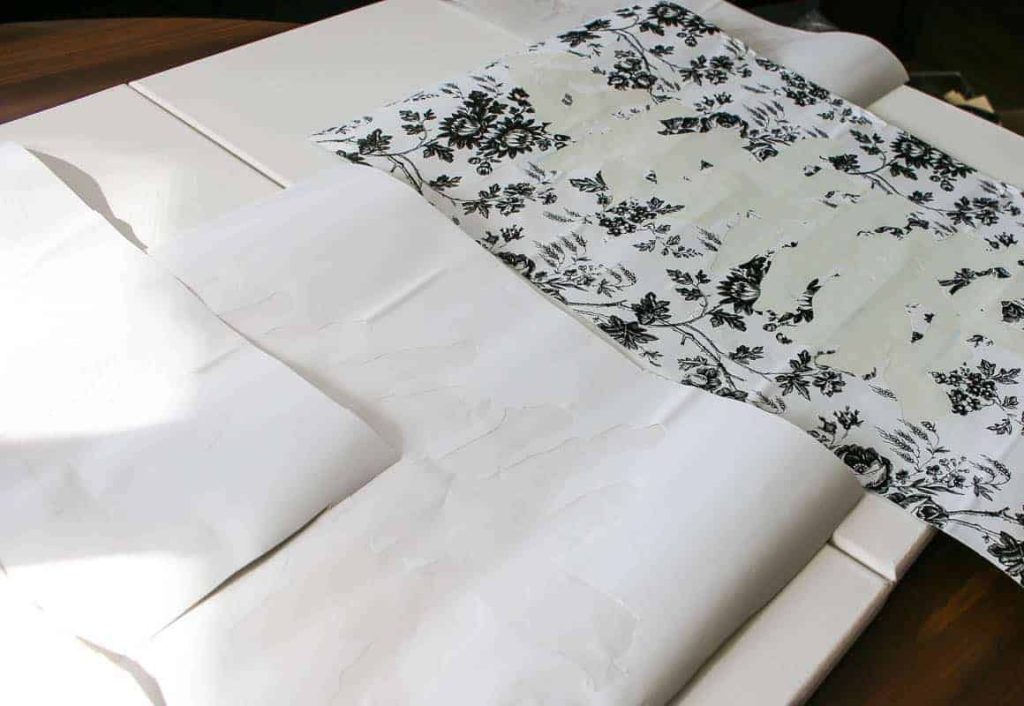
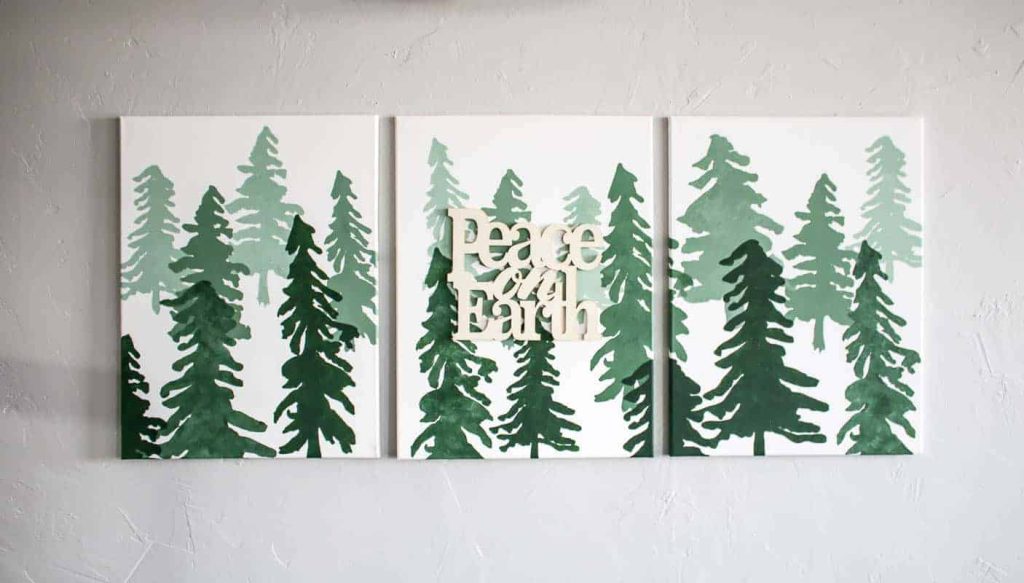
I chose to spread my design across three 18” by 24” canvases.
I very roughly laid out the stencils and came up with a game plan. I mostly arranged it so the smaller stencils were on the top of the canvases and the larger ones were more towards the bottom. This helps give the illusion that the smaller trees are in the distance.
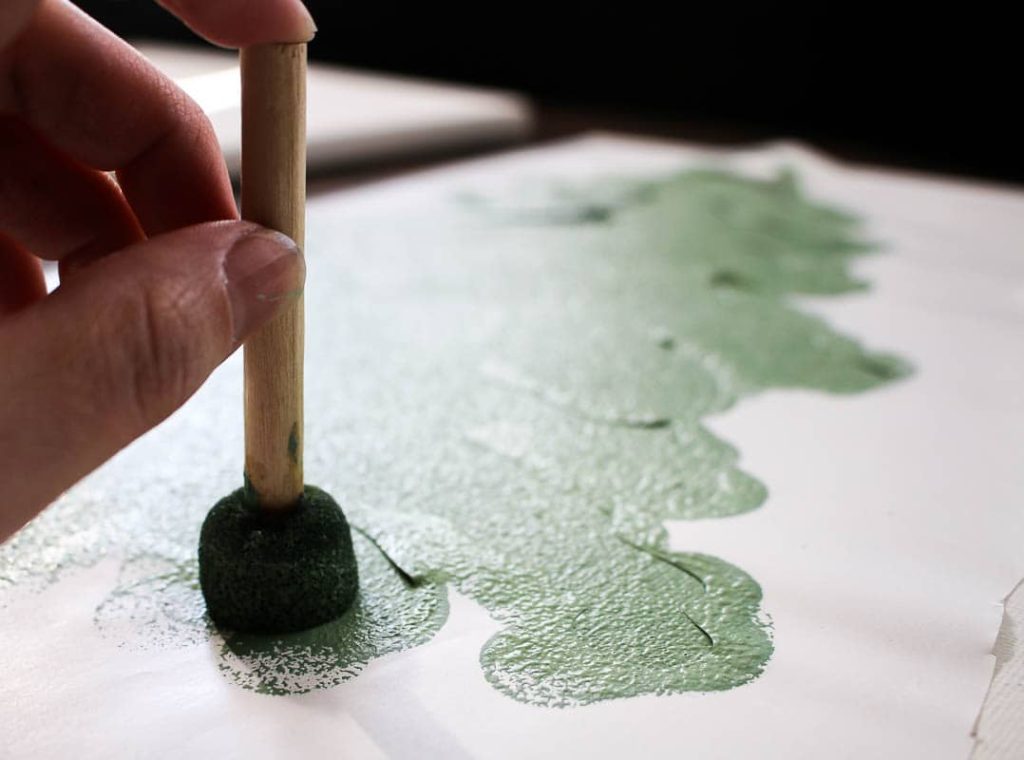
Step 3: Paint lightest color
Starting with the lightest color paint the smaller trees in the top portion of your canvases. By using the lighter colors on these smaller ones, it also helps with the illusion that these are further away.
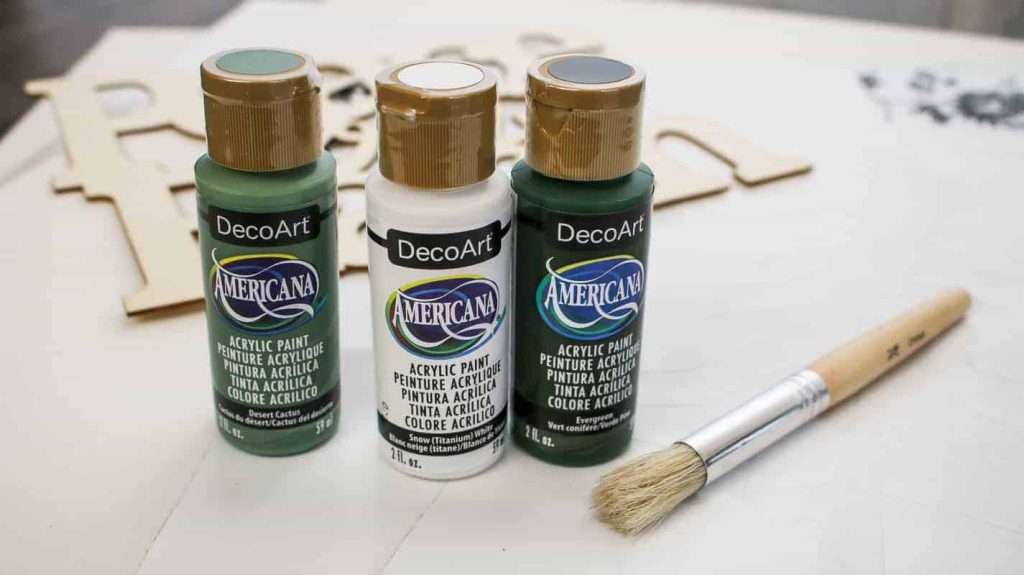
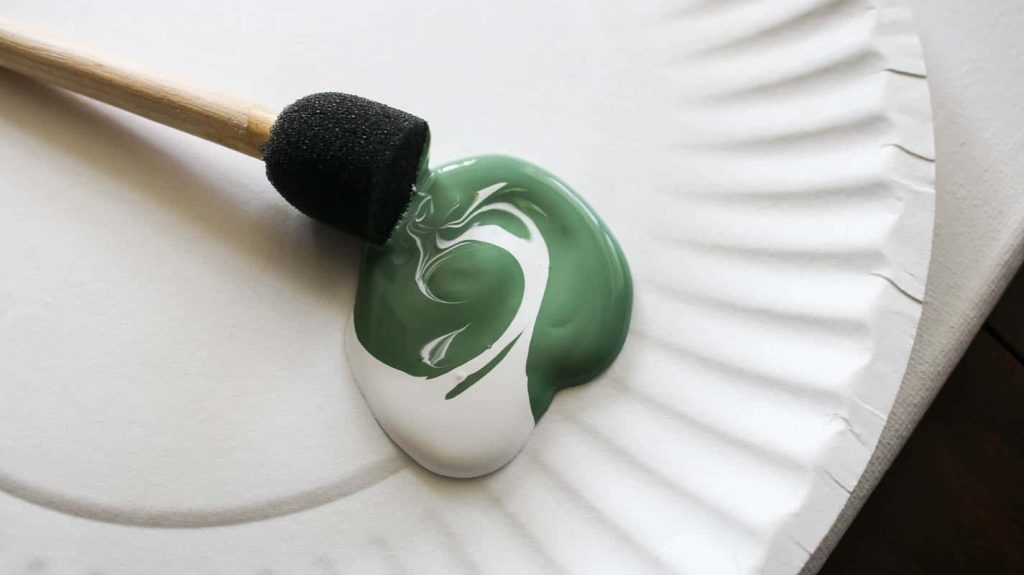
For the lightest color, I mixed this green paint color with this white color to lighten it up a bit.
Step 4: Paint middle color
Next up and you move on to the middle color, which is this green paint color with nothing mixed in it. These trees are painted in front of (on top of) the lightest ones.
When you are stenciling, be sure to “pounce” directly onto the stencil with a stencil brush (I used foam), rather than doing brush strokes.
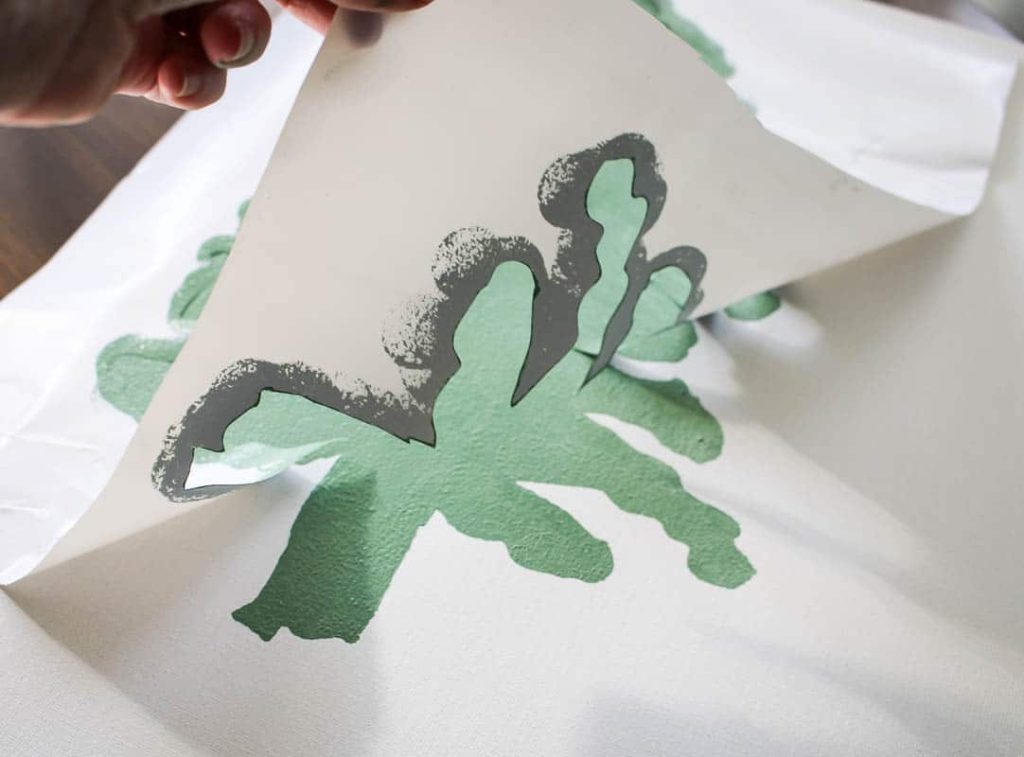
Remove each stencil as soon as you are done painting.
You will need to wait for the first color to be dry to touch before adding another layer of stenciled trees, but it doesn’t take long at all.
Step 5: Continue stenciling
I continued working my way up in size on the stencils and darker in color. For the next layer of stenciling, I used a little bit of this paint color and started mixing in my darkest color.
I used the same foam stencil brush (which also had the lighter colors already worked into the foam), so it started kind of getting a “watercolor” look to the colors when I mixed the darker color in and I LOVED that.
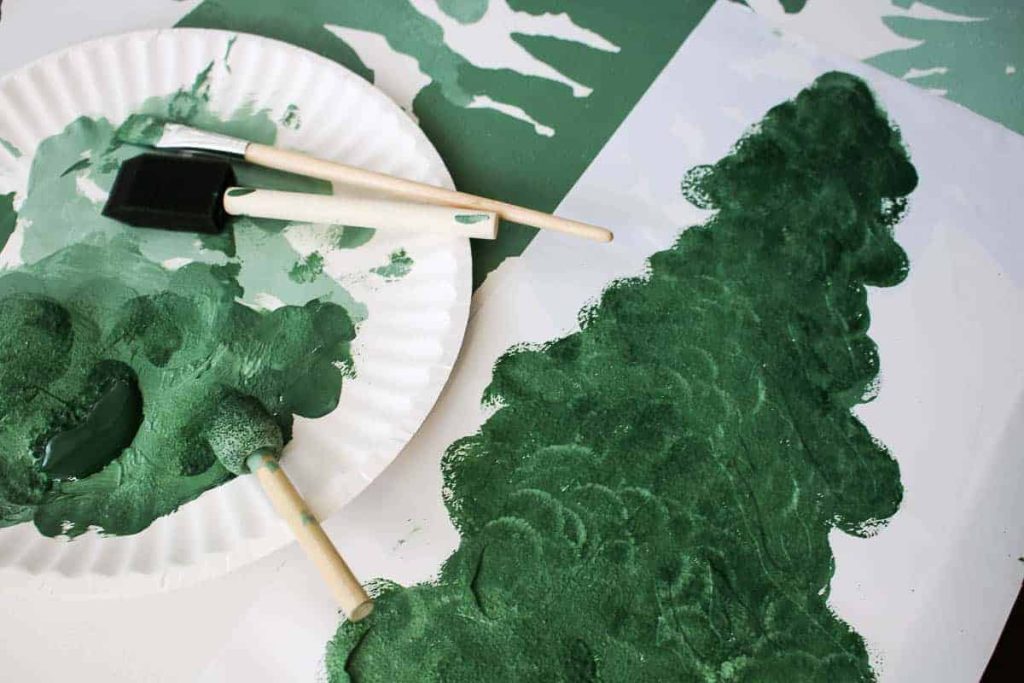
Step 6: Move on to your last color (darkest)
For the last layer of stenciling, I opted for a new paint brush and using this dark green paint color all by itself. It’s a really dark and pretty green and helps give that ombre effect to the sign.
For some of these last trees, I placed them right at the very bottom of the canvas (and hanging off a bit) to make it look like they were right there in front of you.
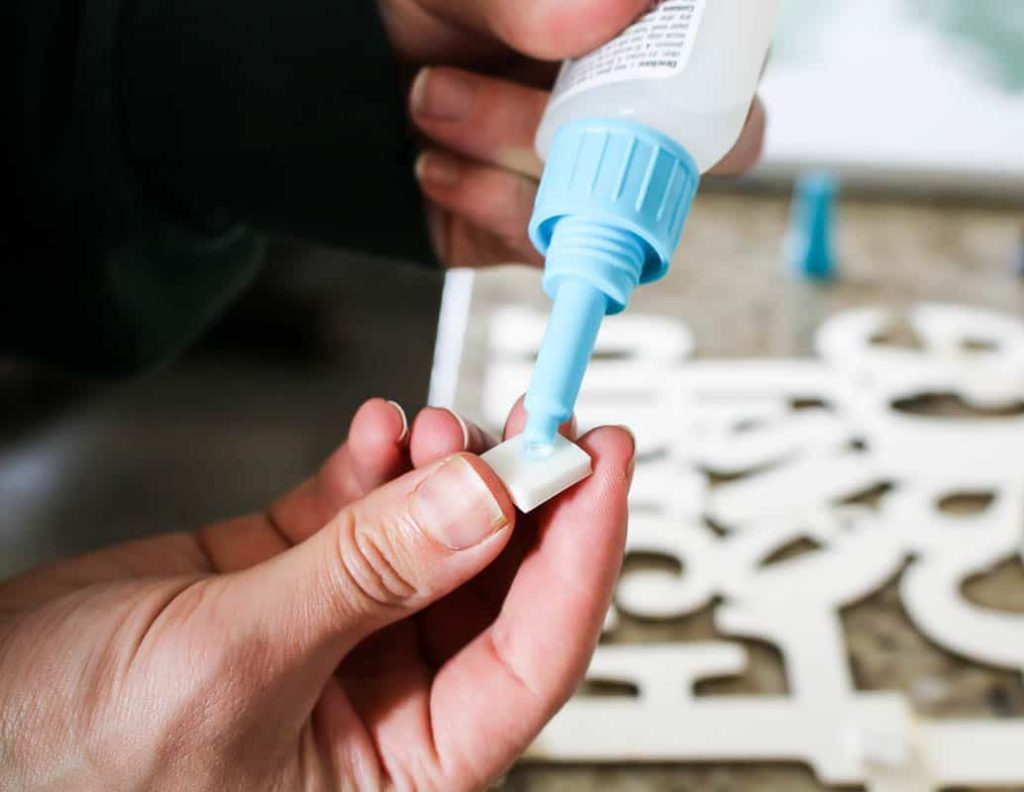
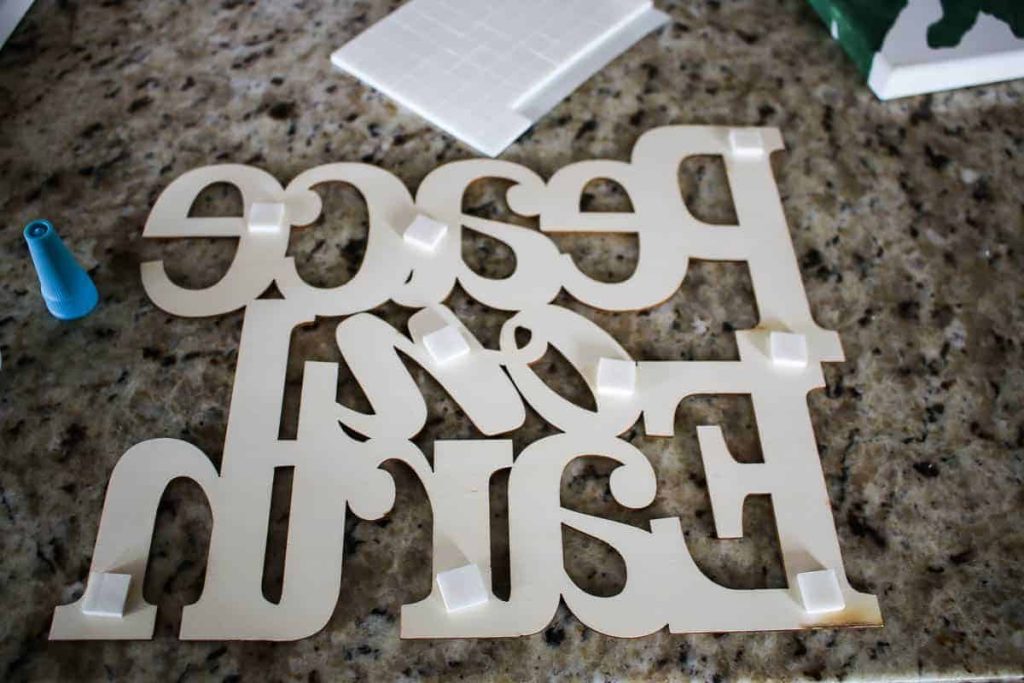
Step 7: Add your wood cut out
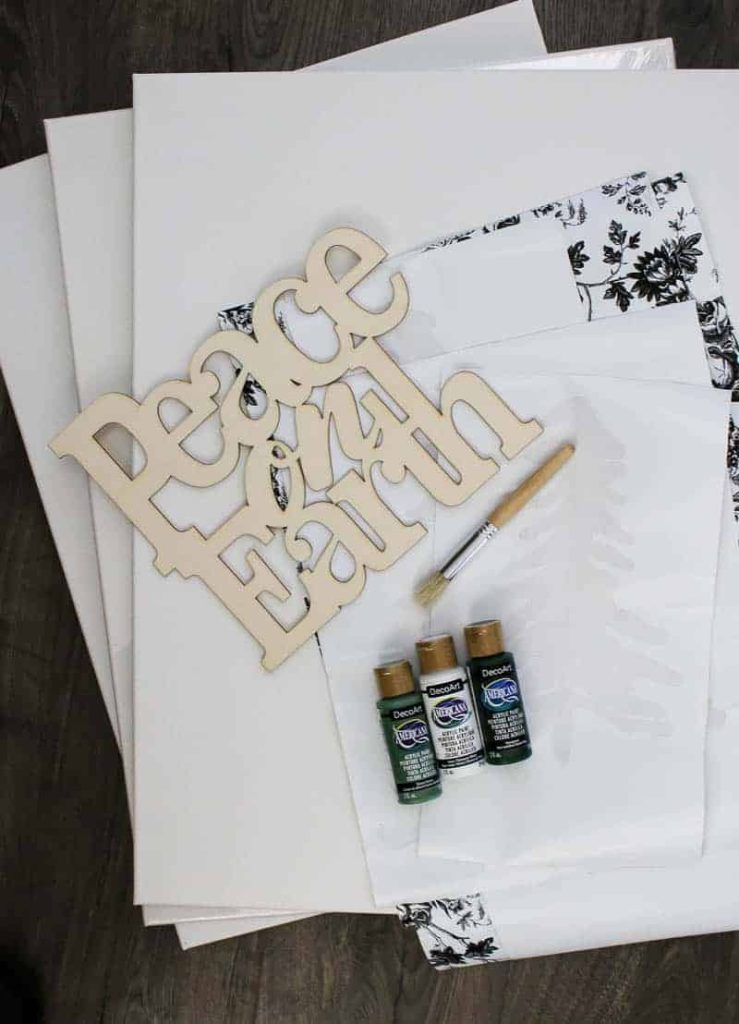
I grabbed this “Peace on Earth” wood cut out from Dollar Tree and it really makes this DIY Christmas sign feel more festive!
To attach the wood, I used 3D foam squares (usually used in scrapbooking) and added in a little super glue for some extra enforcement.
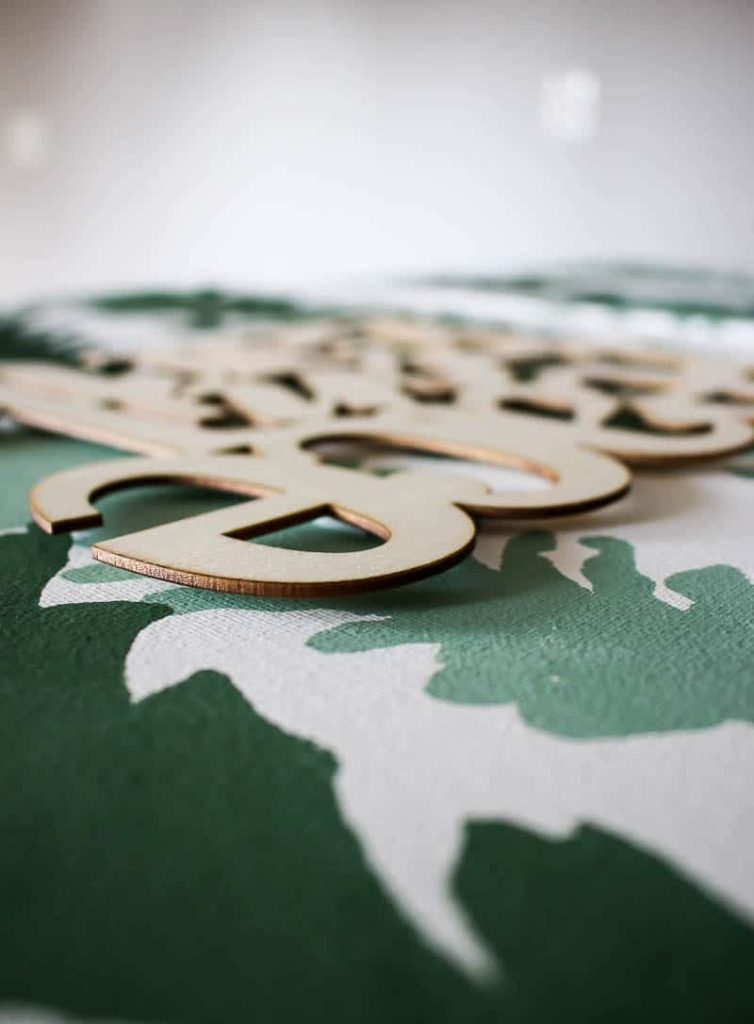
The foam squares help the wood stand off the sign a bit and give it a fun 3D effect.
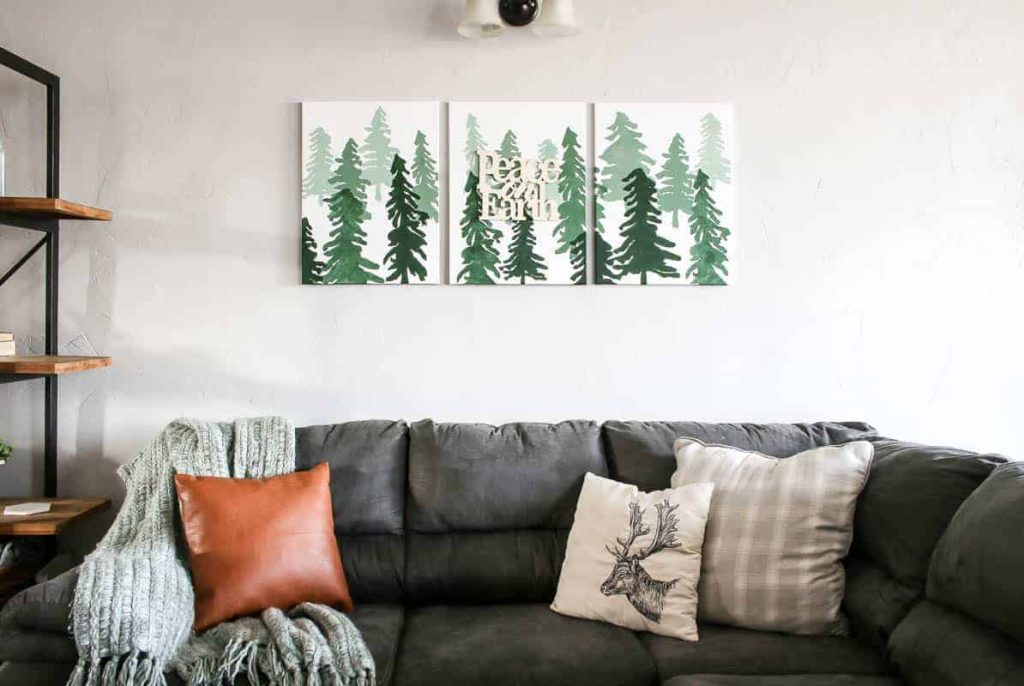

I love this DIY Christmas wall decor turned out. It was a great way to bring the colors of Christmas in our living room! Things are starting to feel like Christmas around here.
It was pretty budget friendly to create this large scale DIY Christmas Sign and it was SUPER fun to make!
I’m sure we will be hanging this fun sign up for years to come every holiday season!


How To Make DIY Christmas Wall Decor
Materials
Instructions
- Cut out stencils with Silhouette Cameo and contact paper.
- Arrange stencils on canvases. I put smaller stencils at the top and larger ones at the bottom to give the illusion of depth.
- Paint lightest color on the smaller trees in the top portion. For the lightest color, I mixed this green paint color with this white color to lighten it up a bit.
- Paint middle color with the next layer of stencils.
- Continue stenciling toward the bottom with the largest stencils and the darkest color.
- Add your wood cut out with 3D foam squares and a little super glue.
- Hang on the wall.
Notes
- When you are stenciling, be sure to “pounce” directly onto the stencil with a stencil brush (I used foam), rather than doing brush strokes.
- Remove each stencil as soon as you are done painting.