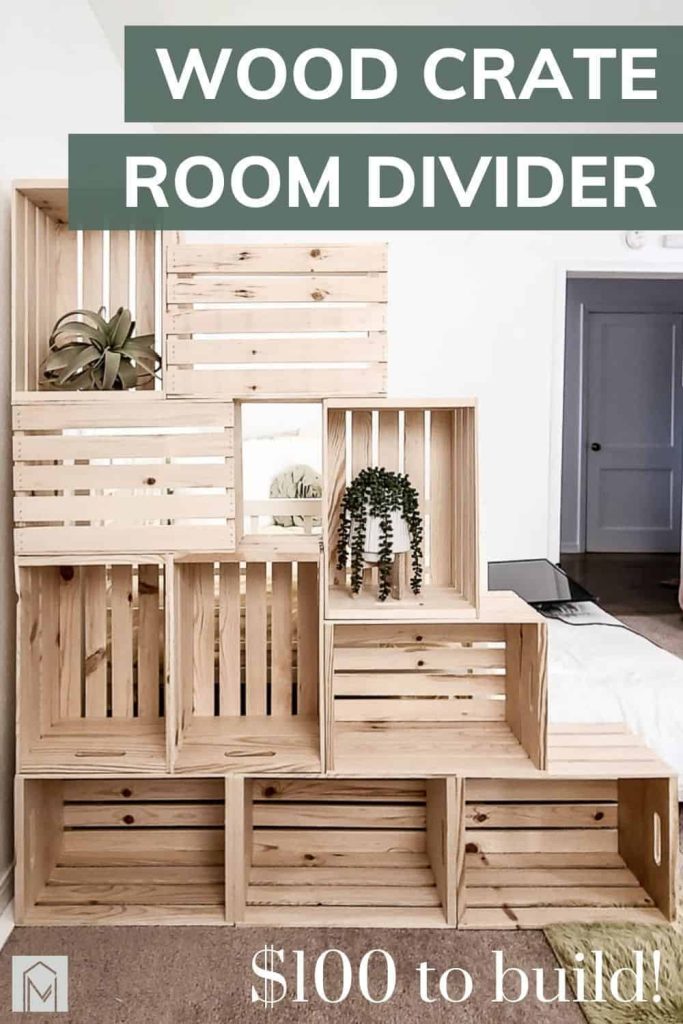
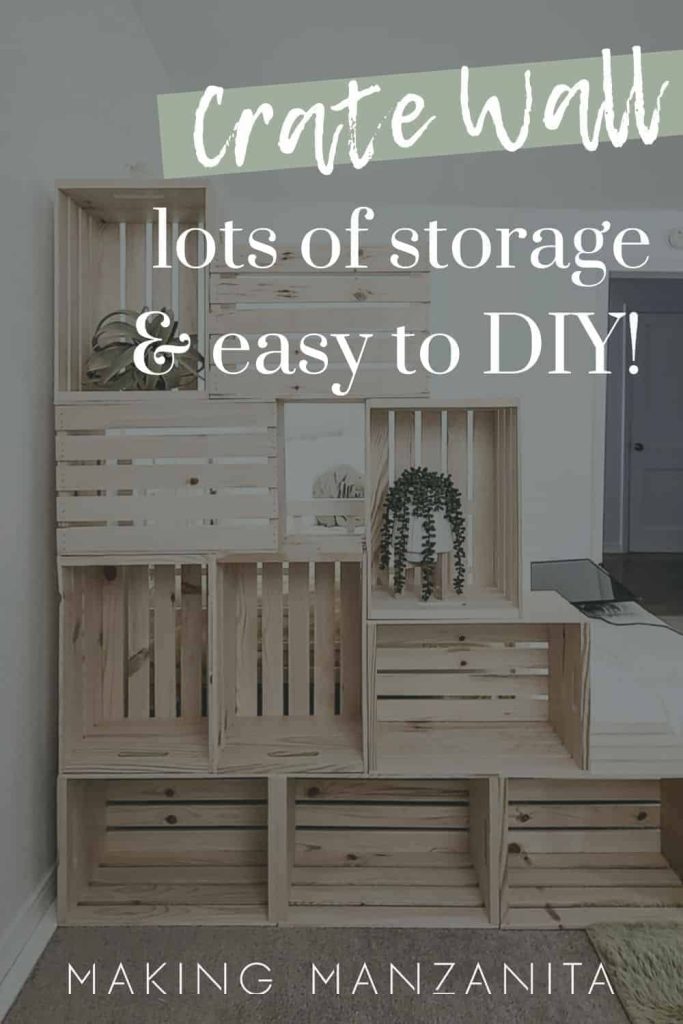
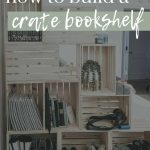
Super Easy DIY Crate Bookshelf for $100

My two baby cousins just moved into their first little place together and it’s just 2 hours away from us. I guess I should stop calling them baby cousins since they are adults now, haha!
Either way, we wanted to help get them organized in their new home, which is a small studio apartment/home. One of our goals was to help define the bedroom area and add some much-needed storage.
Our other goal was to build an easy wood crate desk, which we totally accomplished!
When you are working with a studio, it helps to create separate areas of the room to define the areas. This will make the space feel larger and more intentional.
One way you can do this is by adding some division around the bed both for privacy and to define the space.
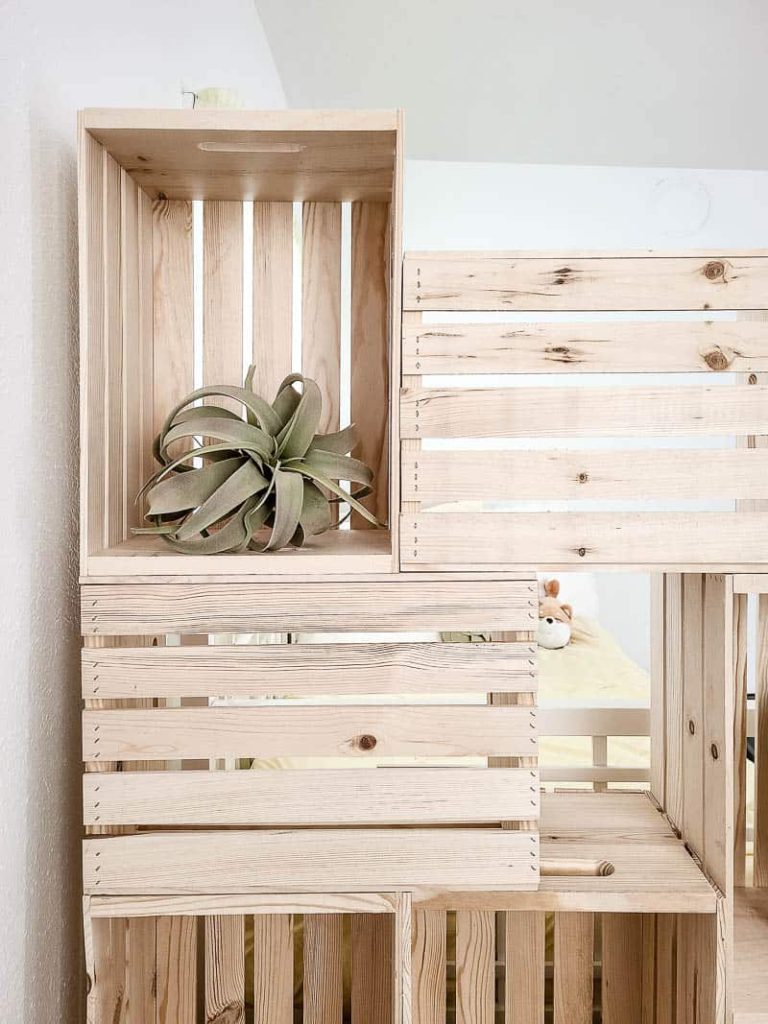
Wood crates are such a great way to create more storage in your home. They are affordable and come fully built, so no building or DIY skills are necessary!
Before Picture
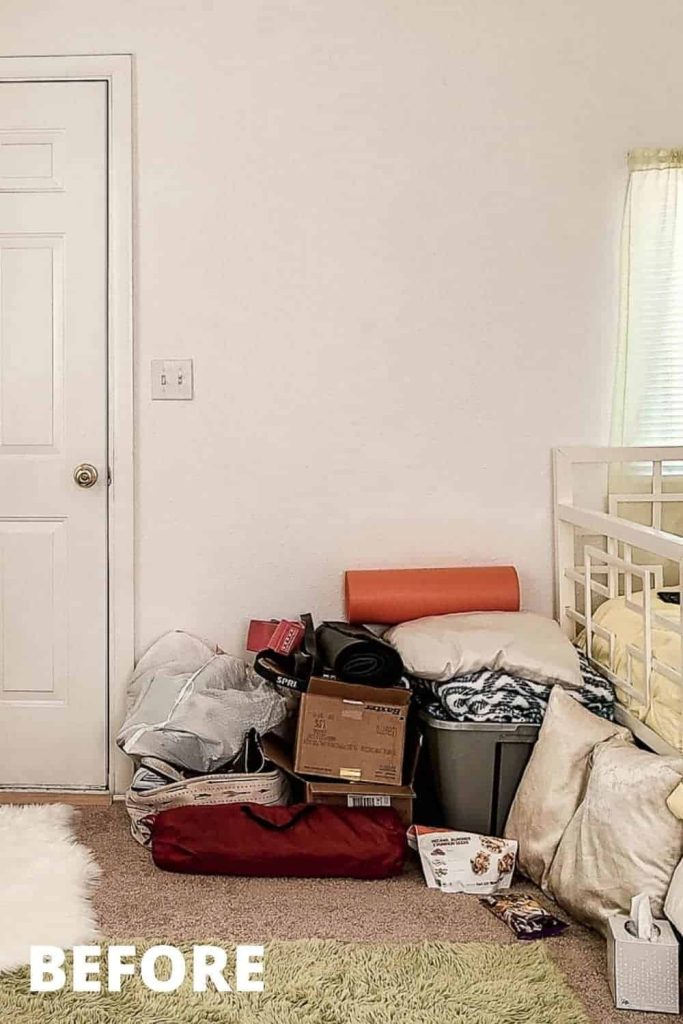
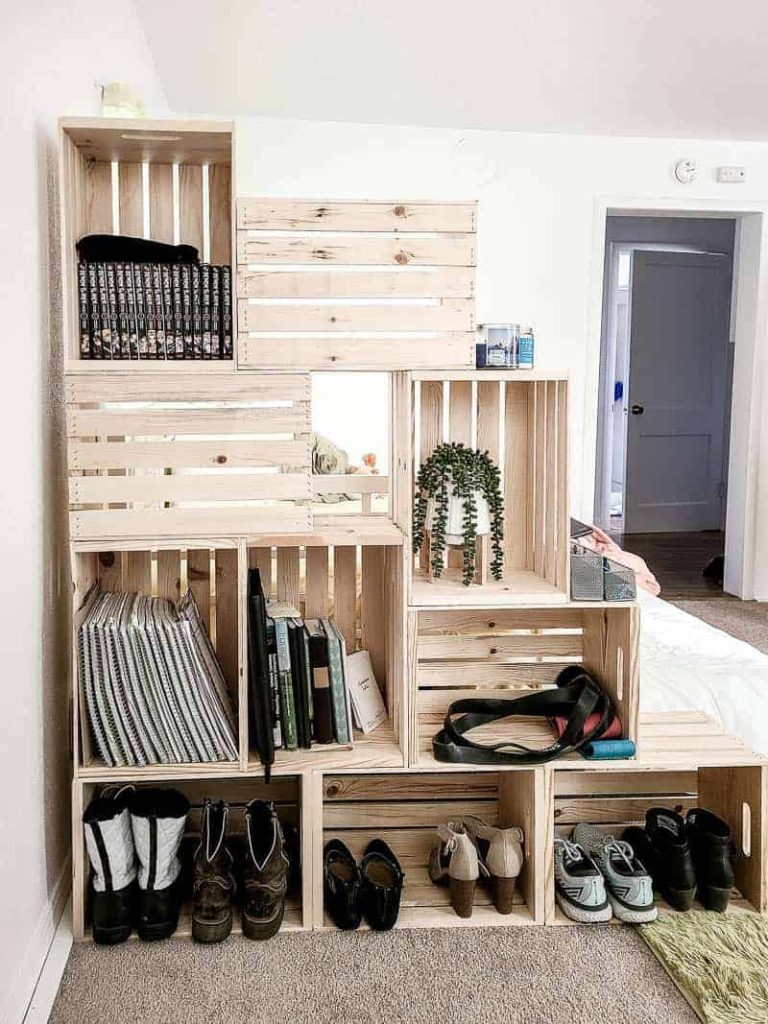
Here’s what the area looked like before! This is their front door area, so we wanted to create some separation so you don’t walk in the front door, and BOOM, there’s a bed there.
It also provides a great place to store the shoes right when you walk in too.
This DIY crate bookshelf tutorial contains affiliate links, but nothing that I wouldn’t recommend wholeheartedly. Read my full disclosure here.
Where to get wooden crates
Since we were buying so many crates, we definitely did some research first to find the best deal on crates. I found that the best deal for standard-size wooden crates was at Michaels. They were $9.99 each when we purchased them.
Supplies for wooden crate bookshelf:
Step 1. Figure out the configuration for your crate bookshelf.
Play around by stacking the wood crates in different configurations to get the right arrangement that will work for you. Remember that you can put the crates facing, either way, to make the crate wall usable with storage on either side.
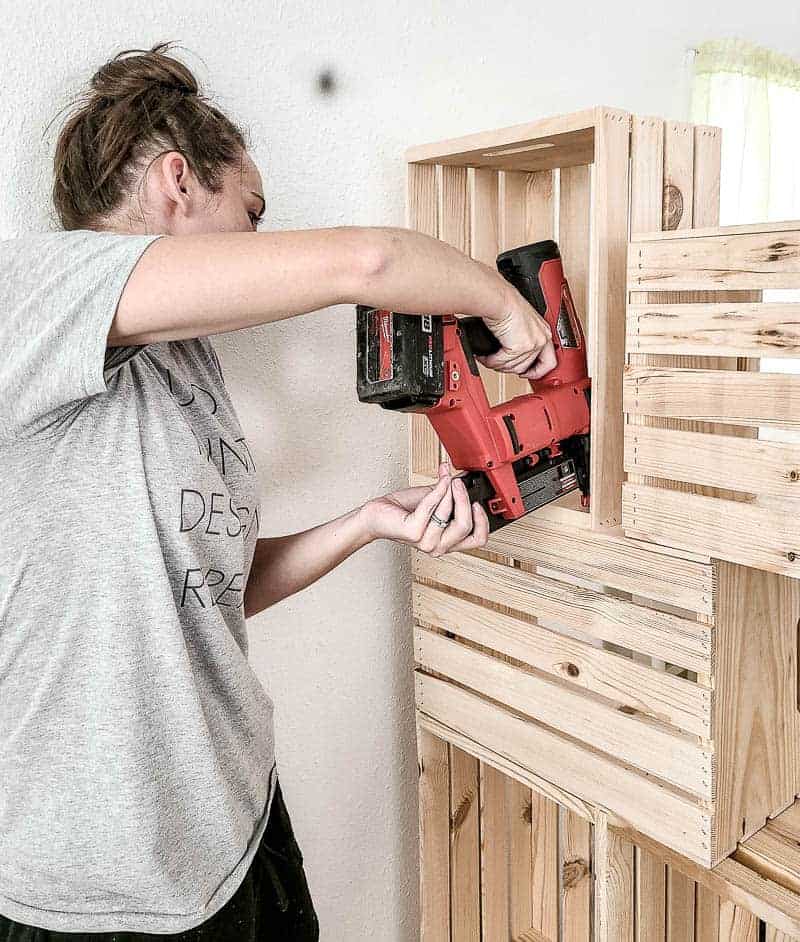
Step 2. Nail wooden crates together.
Nail the crates together in several places on each end of the crate.
Be sure to only nail the crates on the ends because that wood is thicker (3/4″) and the slats of the crates are 1/4″ thick. Together that is an inch and we’re using 1-inch nails.
To avoid the nails blowing out on one side and poking through, angle the nail gun slightly when you’re adding the nails.
Start with the bottom crates and work your way up the crate wall. If you have two people working on the crate bookshelf, have one person hold the crates flush and lined up and one person nail them together.
As another option to make the crate wall more secure, you can add wood glue between the crates when you nail them together.
Step 3. Secure to the wall (recommended).
It is recommended to secure the crate bookshelf to the wall, ESPECIALLY if there are any kids around. Depending on how your baseboards are, you may or may not be able to get the bookshelf to sit flush against the wall.
You have a few options to secure the crate bookshelf to the wall:
- If no baseboards – Nail directly into the wall through the inside of the crate, preferably at the location of studs in your wall
- If you have baseboards – Add a spacer with a small piece of wood between crate and wall and nail, preferably at the location of studs in your wall
- If you have baseboards – Add a corner bracket, like this
*Note: if the wooden crate bookshelf is not secured to the wall, be sure to not load it too heavy on the top crates.
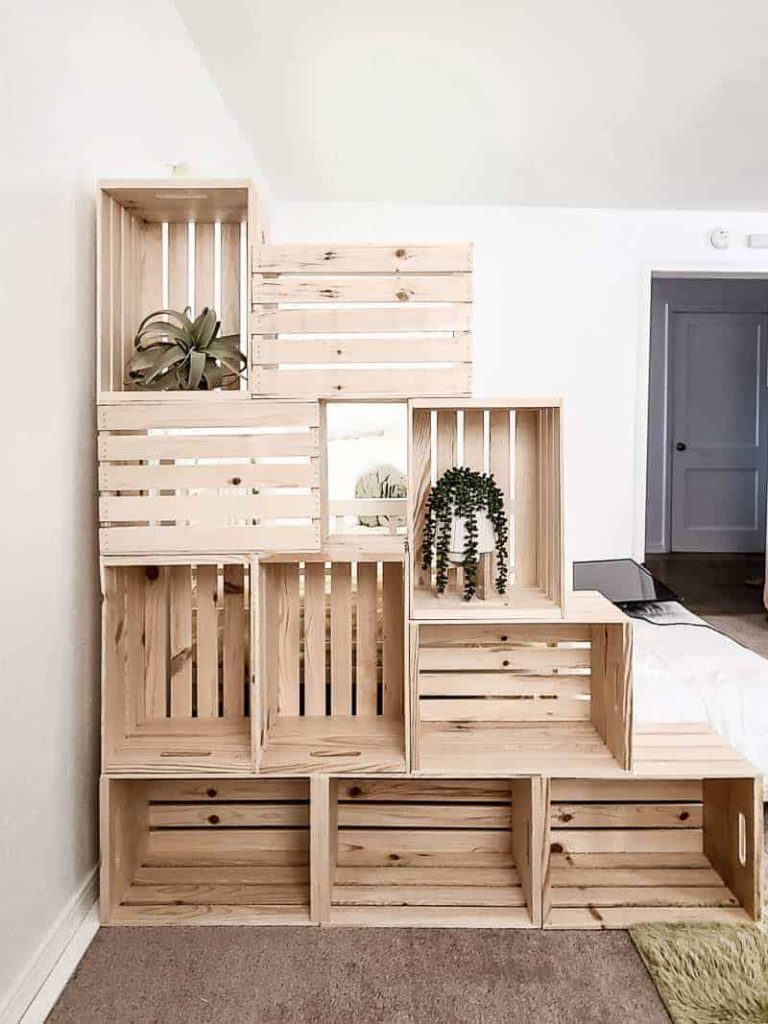
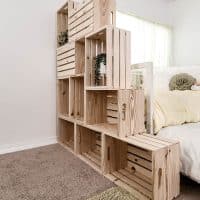
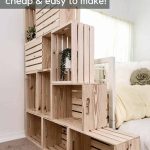
So cute, right?! This crate wall is SUCH an easy and cheap way to add simple storage to your open, separate the room of a studio apartment, or just to add a fun place to decorate.
It definitely helps define the space a bit in this small studio apartment and provides a little bit of privacy for the bedroom area.
If you’re looking for more ideas for a small studio apartment, you’ll probably love this article with 5 Design Tips!
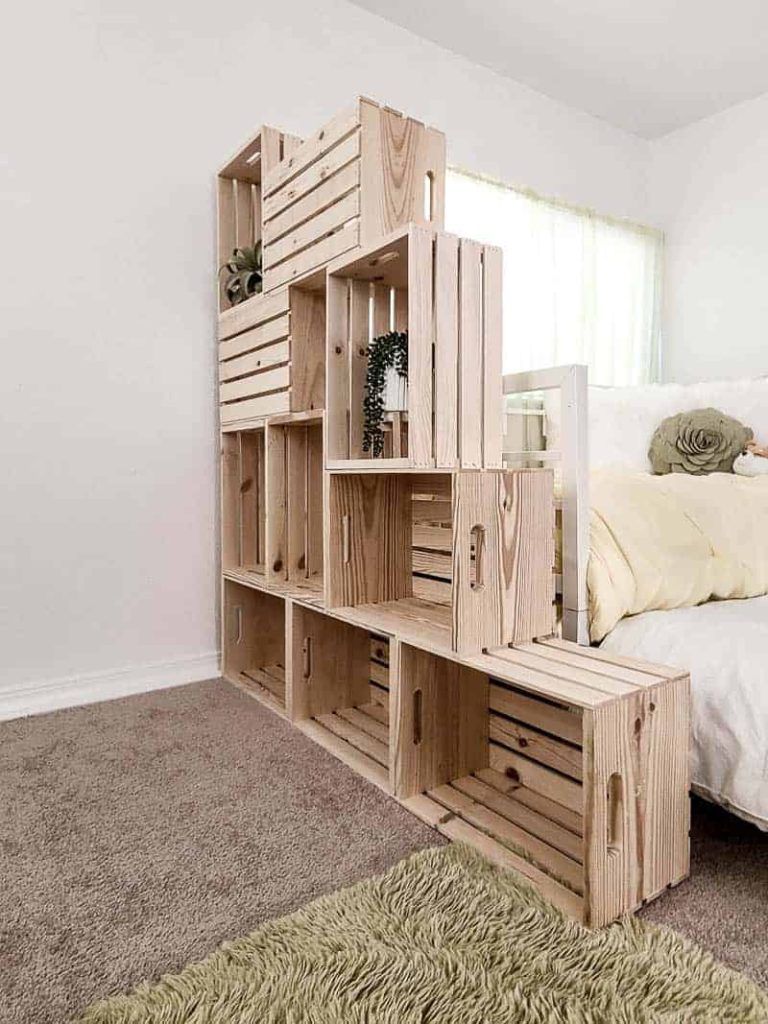
The options are endless for configurations and sizes! We used 10 crates, but you could totally use more or less for yours.
If you love the DIY crate wall, you’re going to LOVE the DIY desk we came up with…spoiler alert…you’ll see more wooden crates! Stay tuned!
Where would you put a crate bookshelf in your home?
Let us know in the comments below!
How To Make An Easy DIY Wooden Crate Bookshelf
Materials
Tools
Instructions
- Figure out configuration of wood crates.
- Nail wooden crates together.
- Secure crate bookshelf to wall (recommended).

were do you get your crates from?
Hi Janell, the crates were from Michaels Craft Store. Here’s a link: https://rstyle.me/+lzJKaNxIwuQUm55RfWTAFg