DIY Bobbin Picture Frames
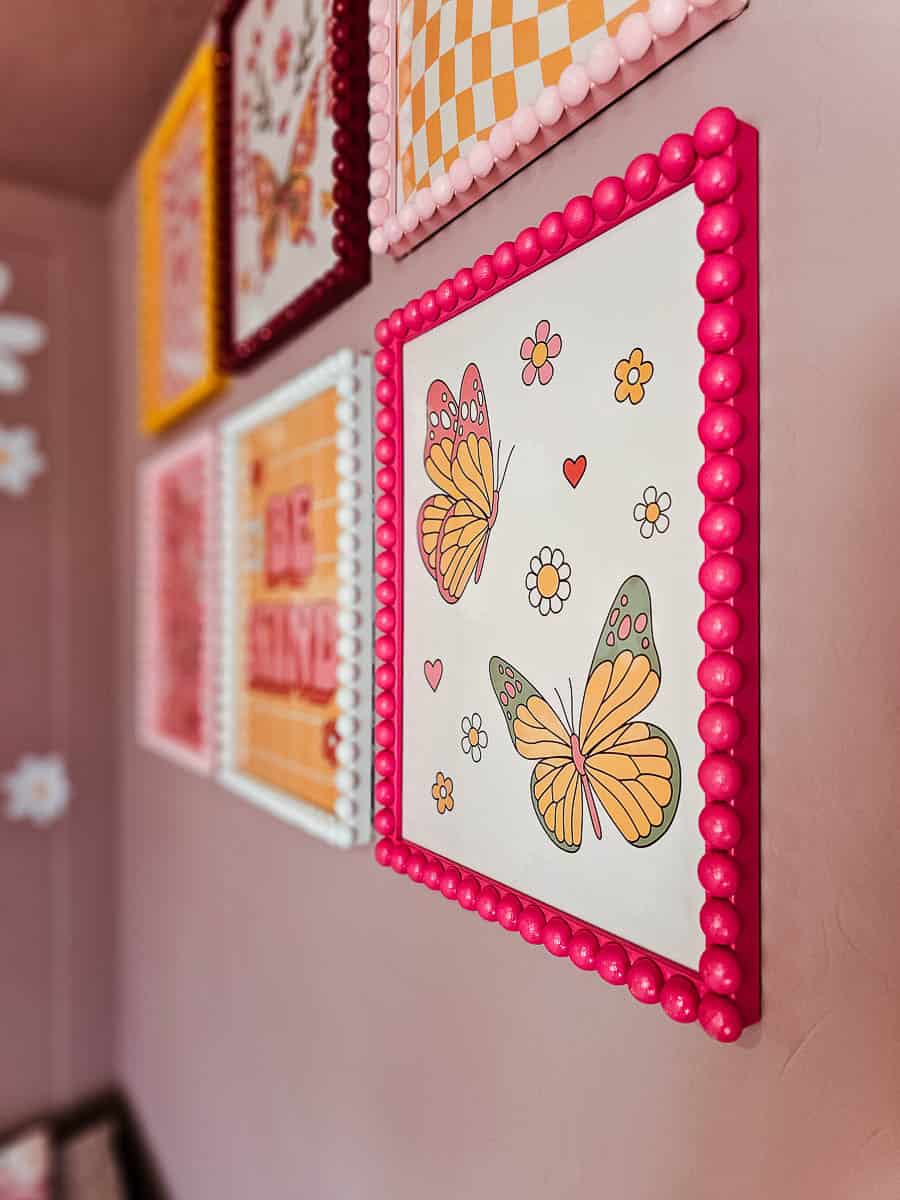
Learn how to make DIY bobbin picture frames with half-round wood beads! This step-by-step tutorial shows you how to add retro charm and character to affordable frames with spray paint and easy-to-use materials.
Thank you to DAP for sponsoring these DIY bobbin picture frames! All opinions are entirely my own. This post also contains affiliate links, but nothing that I wouldn’t recommend wholeheartedly. Read my full disclosure here.
We’re doing a makeover in our daughter’s bedroom, and we are going PINK and RETRO themed (check out the mood board here). We found affordable art on Amazon, but wanted to create some frames that had a bit more character and charm than just a normal boring frame.
Enter the BOBBIN PICTURE FRAMES!
Bobbin trim molding (also known as pearl beading or wood bead molding) is super trendy right now. I’m seeing it everywhere – from accent walls, like this one, to furniture. We recreated the look of bobbin trim on these wooden picture frames with half-round wood beads and it was SO EASY!
Bobbin Frames: Video Tutorial
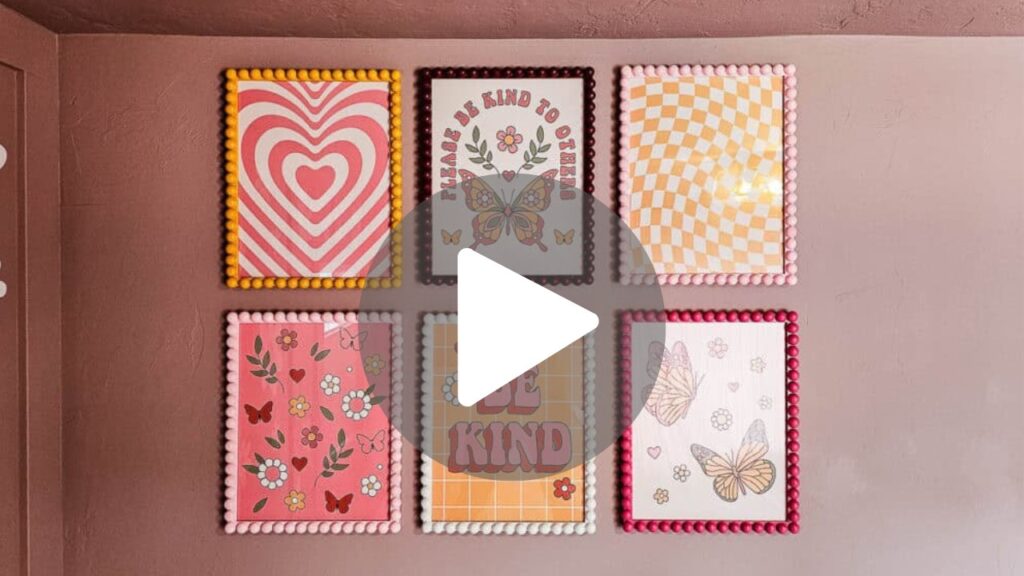
If you love DIY videos, be sure to subscribe to our YouTube channel!
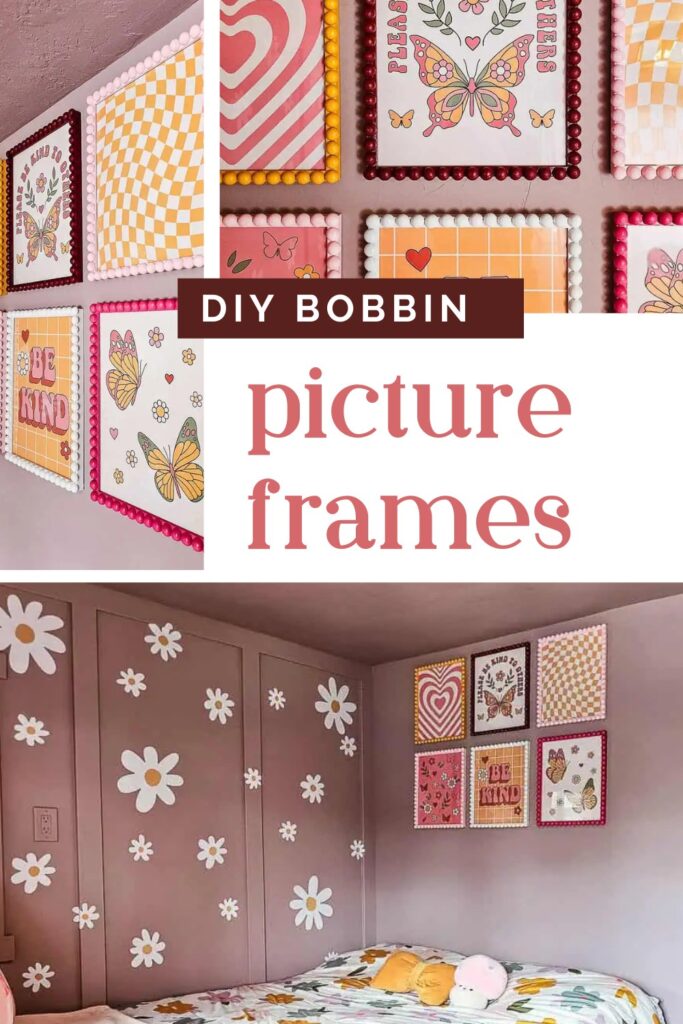
How To Make Bobbin Picture Frames: Step-by-Step Tutorial
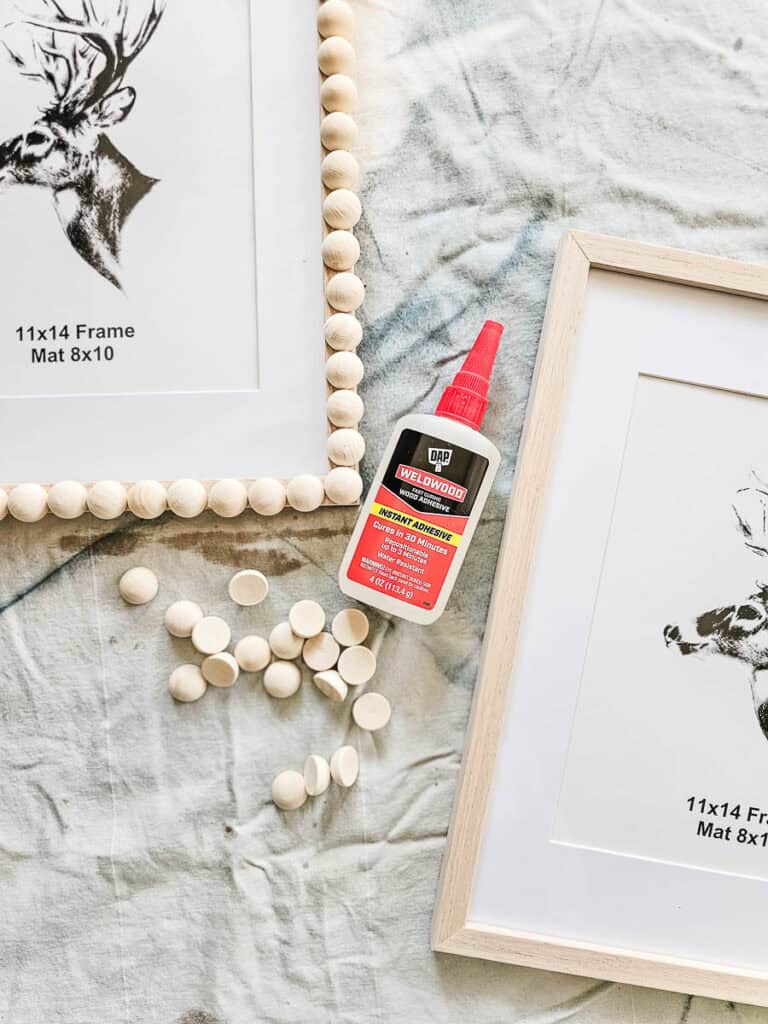
Supplies & materials for bobbin frames
Step 1. Figure out the size of wood beads & frames
Before purchasing the wood beads and frames, I did the math and conversion to figure out which size beads to get so they would fit on the front surface of the frame. Apparently #mathishard because the wood beads overhung a bit.
I almost returned the beads for a smaller size, but after laying them all out, I decided I liked the little overhang. It almost gave it a bit of a scallop look. It was a happy accident.
If you want your wood beads to not overhang, go smaller than 20mm (if you use the same frames we did).
Step 2. Lay out beads
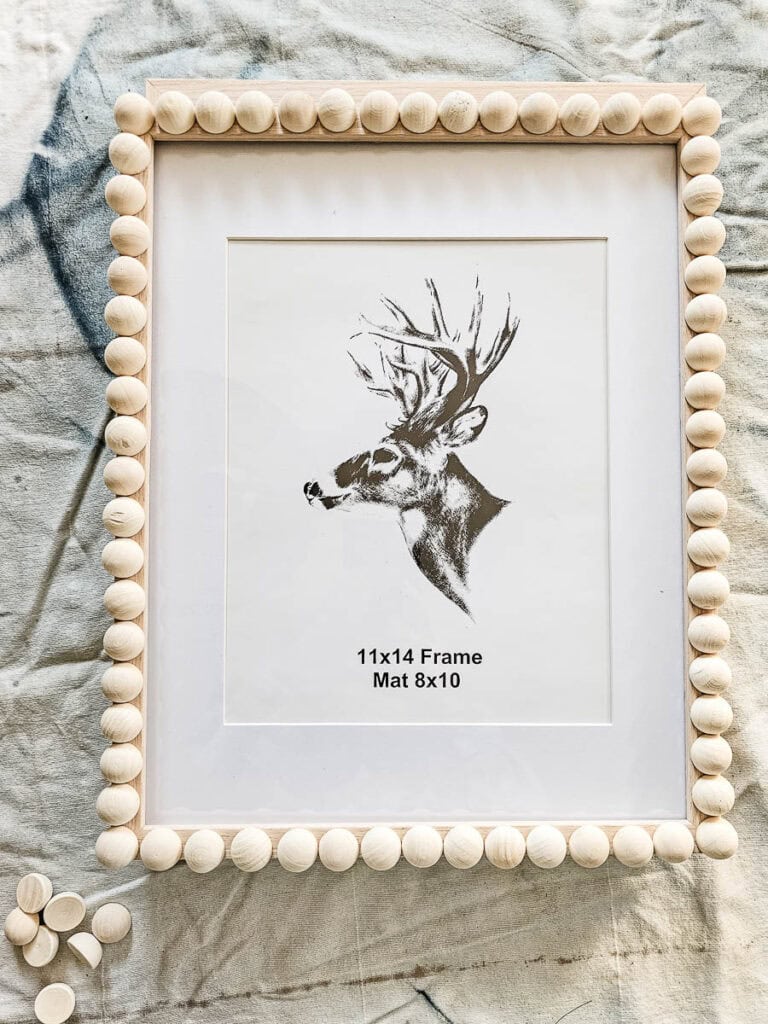
Before you start gluing anything, do a dry-fit with the wood beads on the frame to see how many you’ll need for each side and how to space them.
We used 64 beads per frame, 15 on top and bottom and 17 on each vertical side.
Step 3. Glue on wood beads
Working with just one side at a time, apply the instant wood adhesive to the frame and set the wood beads into place.
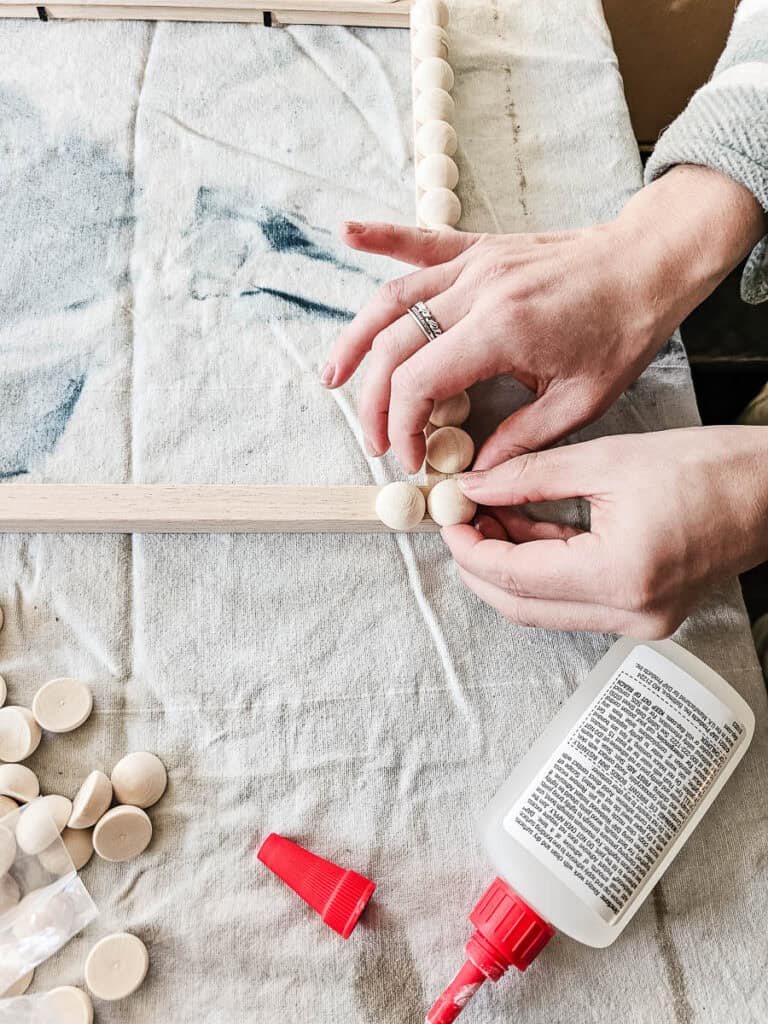
On each frame, I started with the top and bottom edges of the frame first and made sure to add an extra bead on each corner. This helped make sure that the corner pieces would be lined up correctly with the beads on the vertical edges as well.
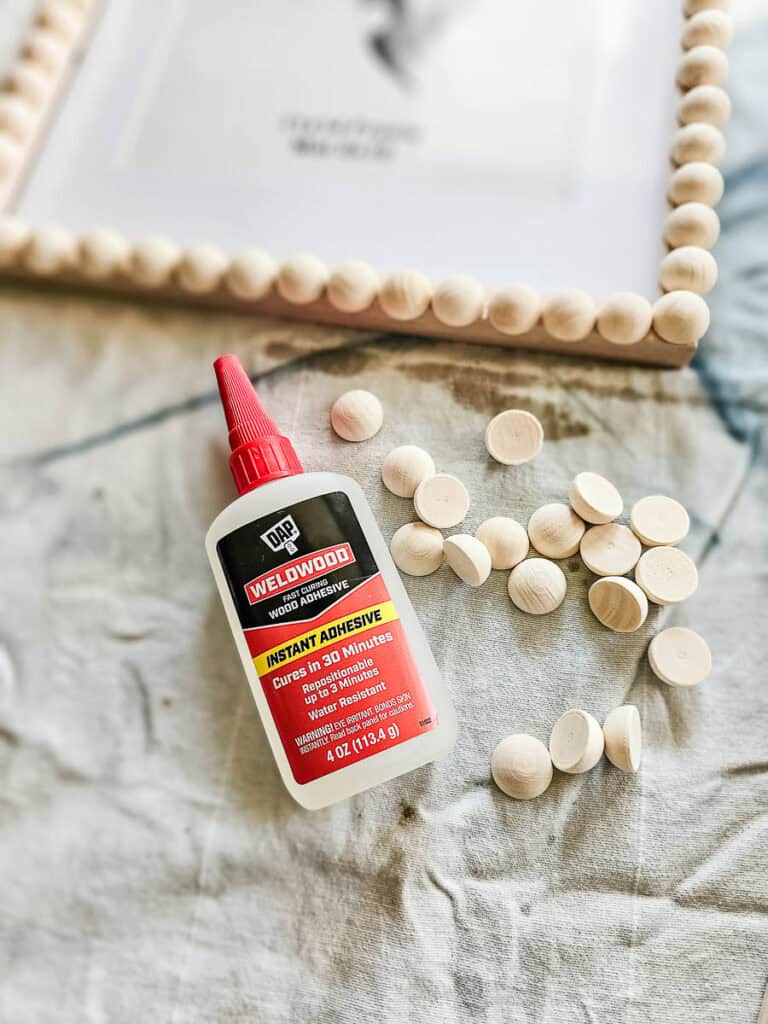
DAP Weldwood Instant Wood Adhesive is repositionable for up to 3 minutes, so you can gently and carefully slide the beads around a bit while you get the spacing just right. This was CRUCIAL.
Once everything looked right on each side, I pressed each piece of wood down into place, holding for a few seconds to secure them.
Once the top and bottom edges are done, move on to the vertical edges of the frame.
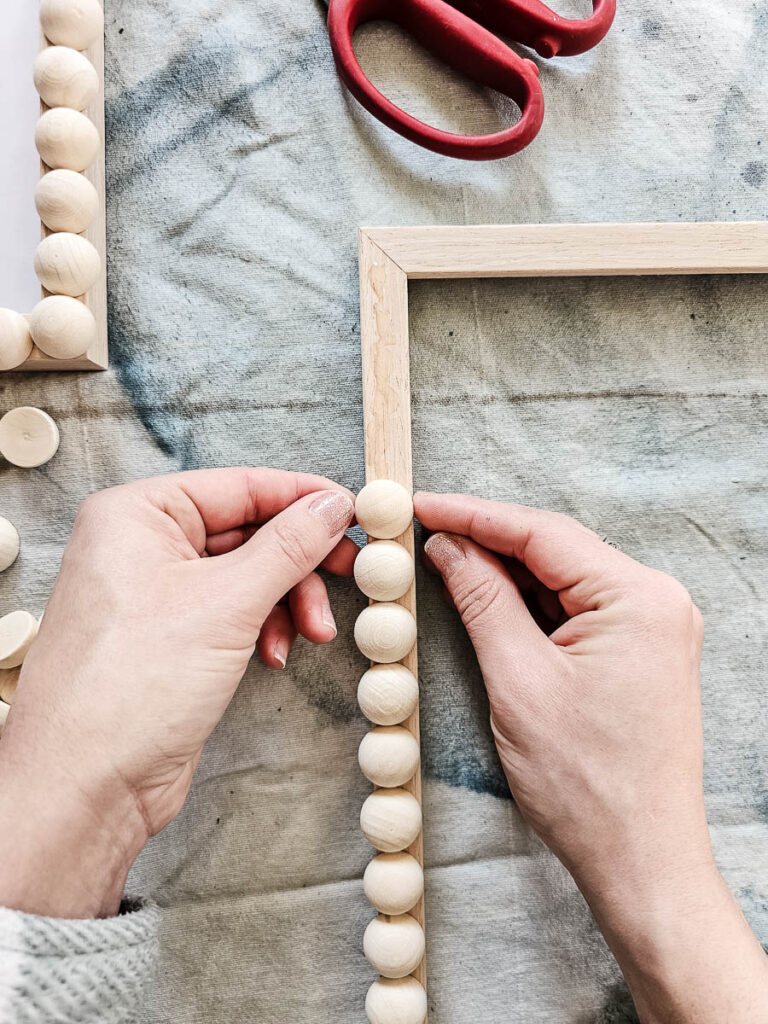
This glue cures within 30 minutes, so just set the frame aside when you’re done, and don’t touch it again for half an hour.
Step 4. Paint bobbin picture frames
At first, I had the brilliant idea to paint the frames with acrylic paint that I had on hand. After about an hour on the first frame with a small picture frame, I realized that was a horrible idea, and it would be WAY faster to spray paint the frames.
Boy was I right. The spray paint worked great and was so much easier.
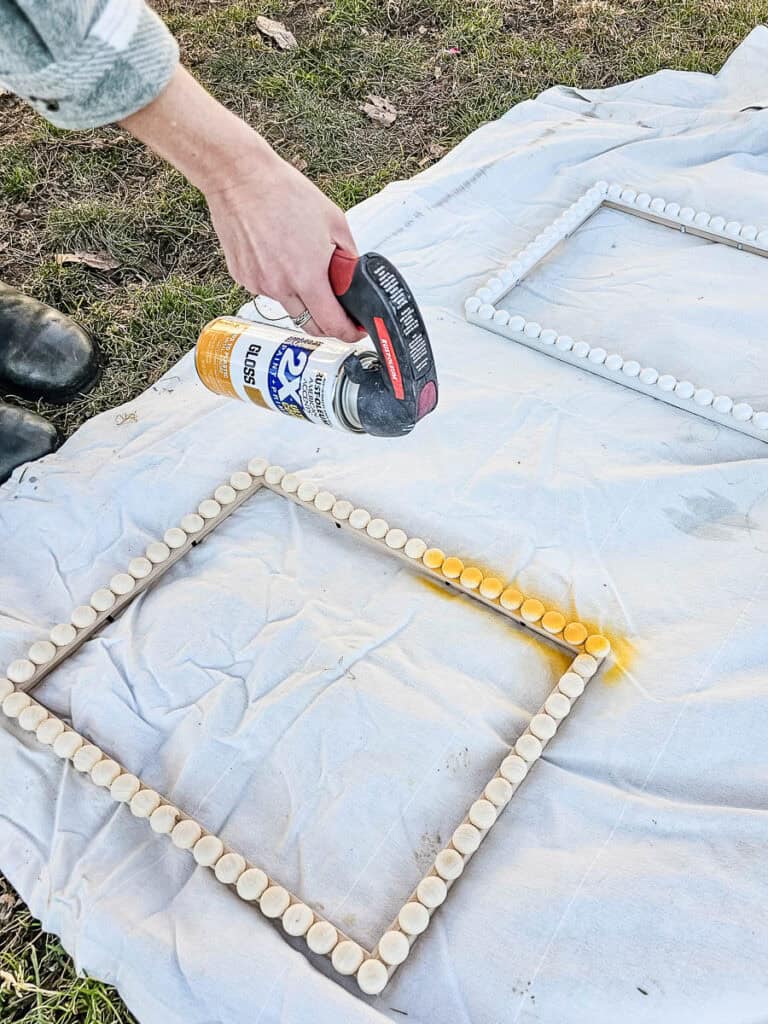
We went with a high gloss finish and a few different colors that matched the artwork we had purchased for the frames.
Each frame took several light coats of spray paint – probably about 8-10 coats applied a few minutes apart.
It was pretty cold outside, so I definitely need to use these tips for spray painting in cold weather.
Here are the spray paint colors we used:
Be sure to check out these spray painting tips and tricks for beginners!
Step 5. Add art and hang them on the wall
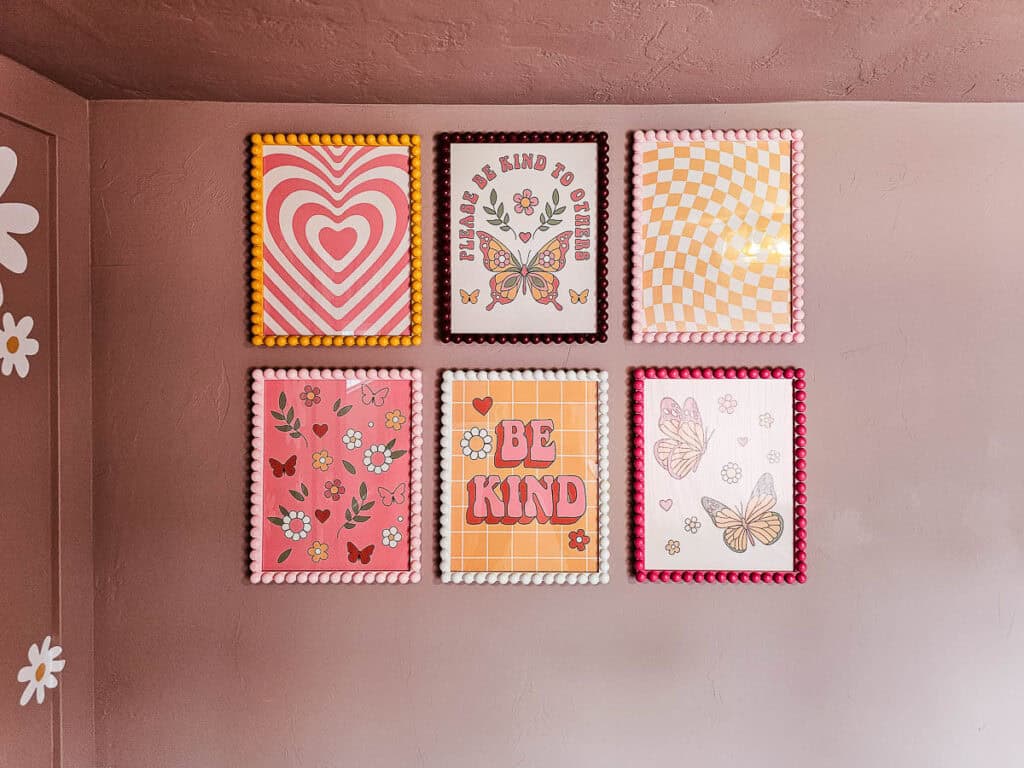
Lastly, just add your artwork or photos and hang them on the wall. The picture frames come with a built-in hanger on the back so hanging is easy.
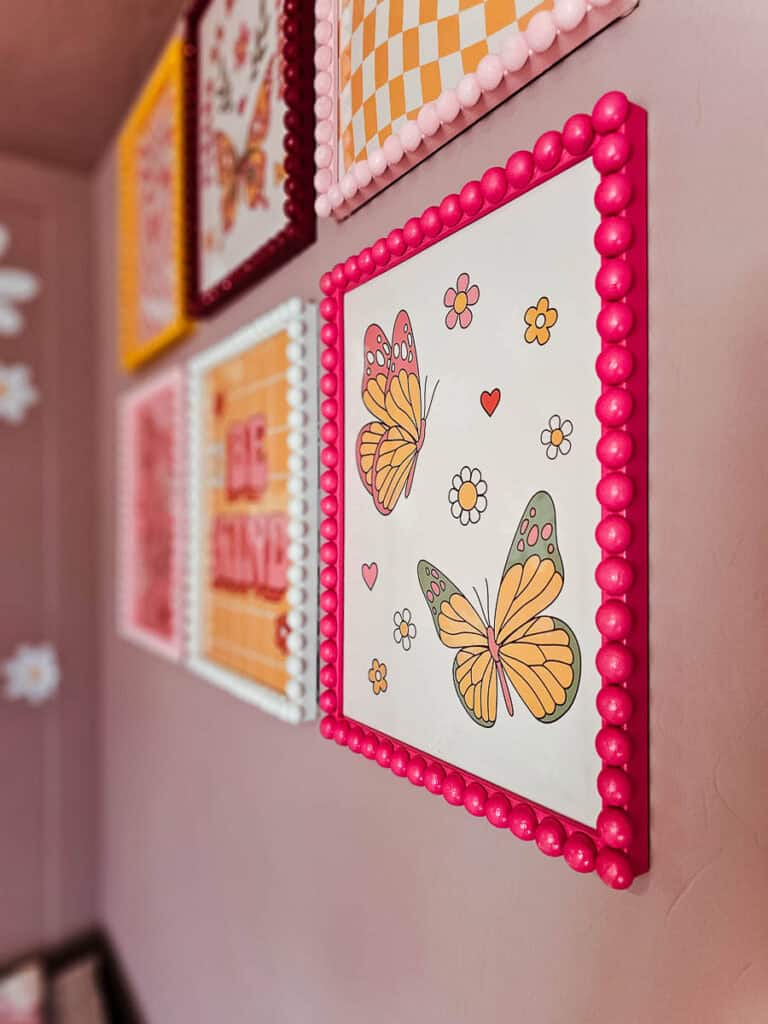
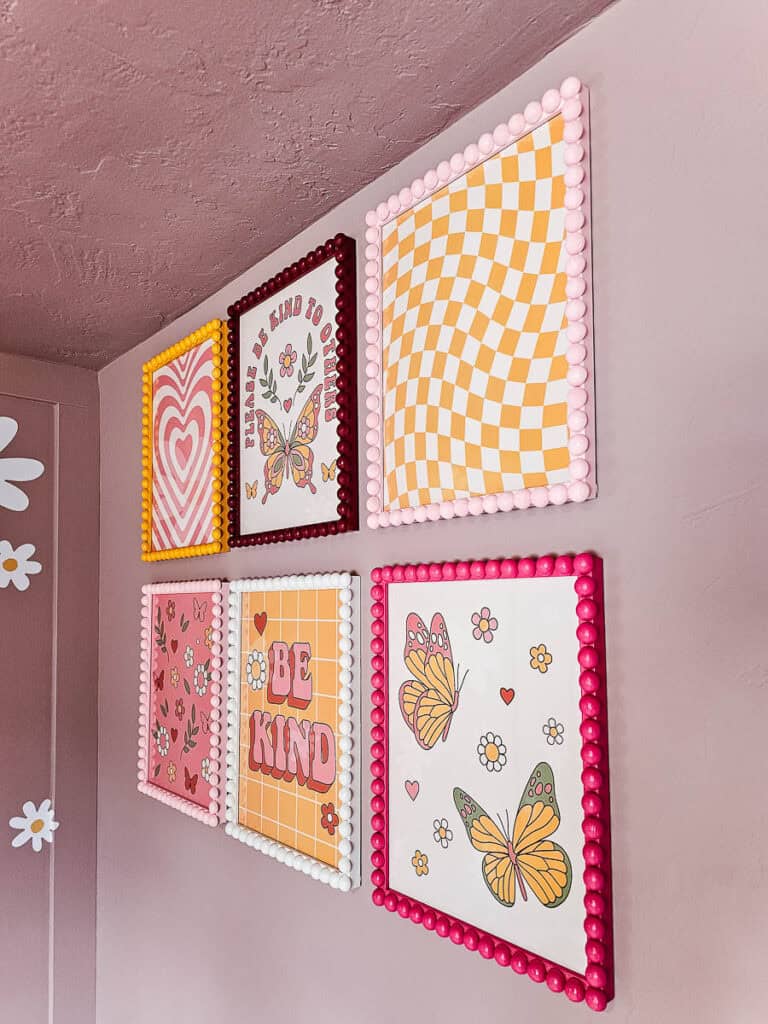
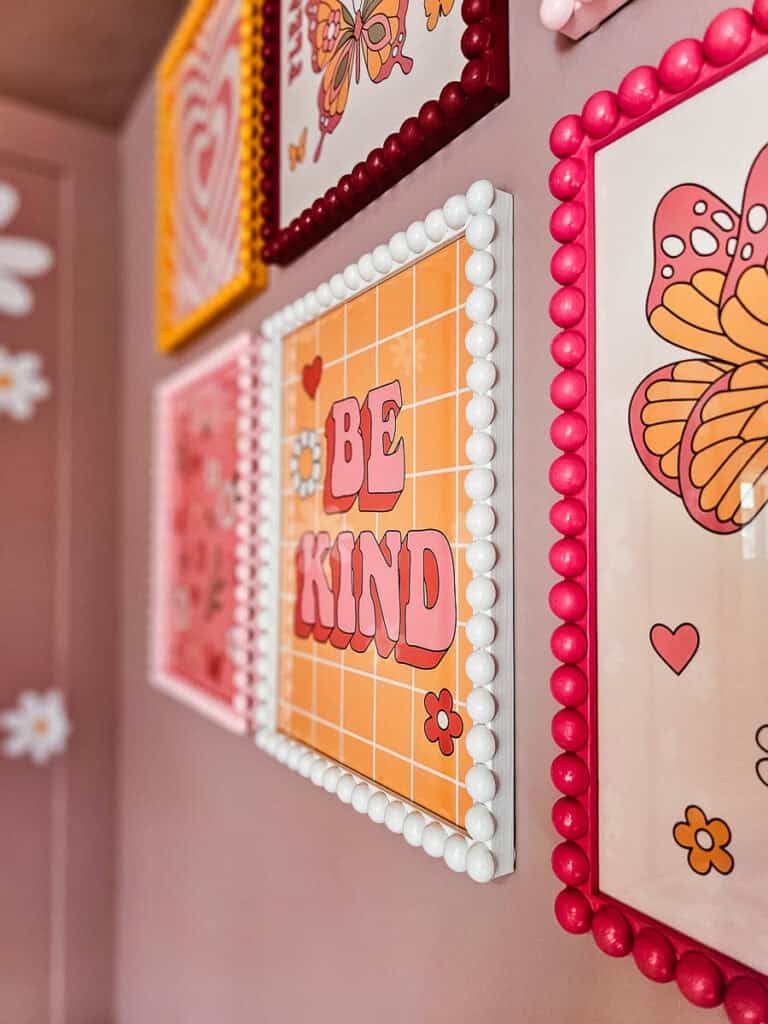
Aren’t they SO cute? We just love how they turned out.

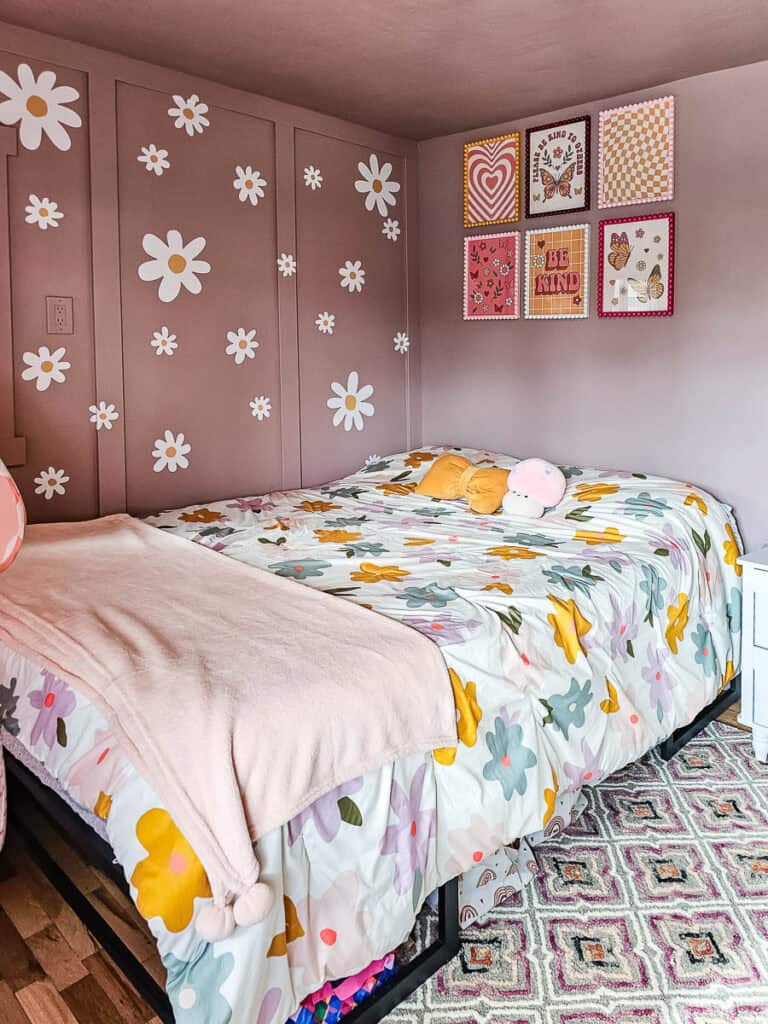
They were so easy to make and added so much more character than regular picture frames!
