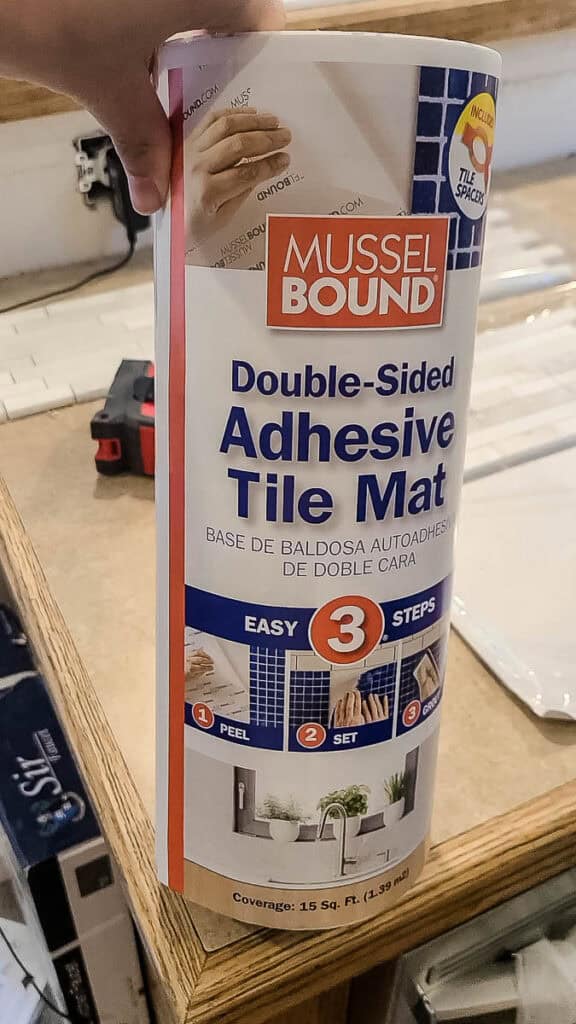
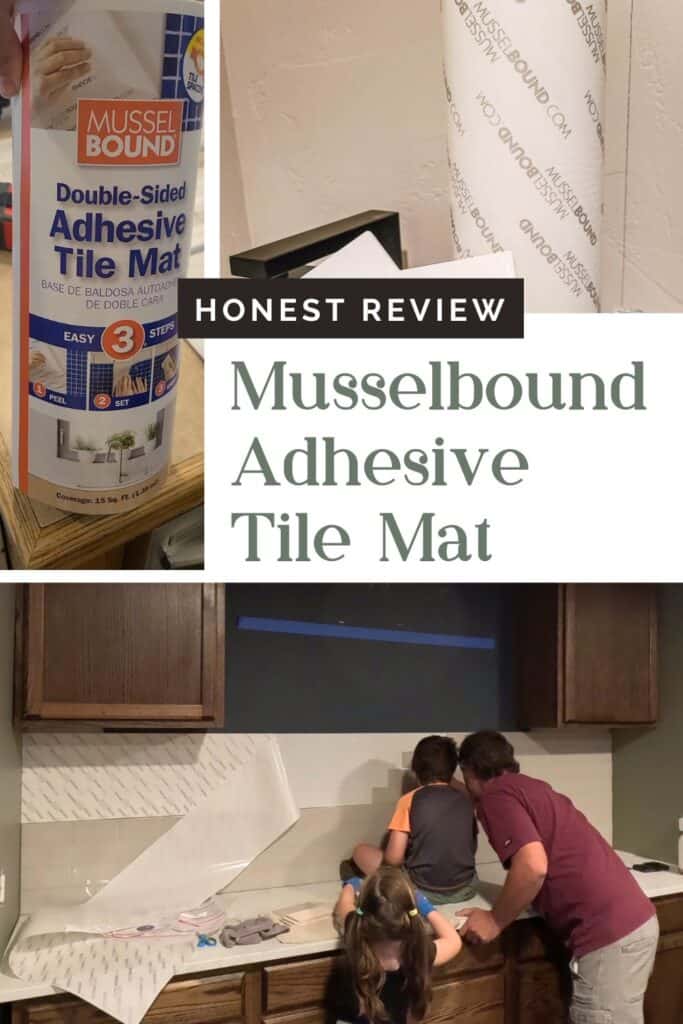
Musselbound Adhesive Tile Mat: Honest Review with Pros and Cons

If you are starting out and want to try doing a tile project yourself but don’t have the tools then it can be a daunting task. Not to mention, it’s pretty messy. That’s where using an adhesive tile mat, like Musselbound, can help.
This review for Musselbound tile mat contains affiliate links, but nothing that I wouldn’t recommend wholeheartedly. Read my full disclosure here.
What is Musselbound adhesive tile mat?
Put simply, Musselbound is a double sided adhesive tile mat that doesn’t require traditional mortar to attach the tiles. Just stick one side to the wall then peel back the cover and stick tiles on just like tape.
Pros of using adhesive tile mat
- Possibly the biggest benefit of using the Musslebound adhesive tile mat is how simple and easy it is to use. If you have used double-sided tape then this is really no different.
- No tools are required to mix, apply, and butter the tiles with thinset mortar because you can just stick them on. You don’t have to figure out how to mix tile mortar correctly or worry about throwing away mortar if you don’t use it all right away.
- You can stop your tile project mid-way through. Usually, when you’re doing tile work, you can’t step away if you’ve already mixed up a bunch of tile mortar because it hardens quickly. With the Mussel bound tile mat, you can stop whenever you need to go run a quick errand or take an unexpected phone call.
- It is such a time saver! Attaching the tiles to adhesive tile mats is way faster than the traditional way with mortar.
- Another major benefit is you can grout as soon as the last tile is put on the adhesive tile mat. No longer do you have to wait 24-48 hours before grouting. You can finish your project in one day instead of multiple.
- It’s clean! Mortar can make a huge mess if you’re not careful. No more worrying about messy mortar.
Cons of using adhesive tile mat
- The Musselbound adhesive tile mat is more expensive per square foot than using mortar (if you already have tools needed for the mortar application).
- If you don’t follow the instructions diligently then the product will not work. The tiles will not stick to the double-sided adhesive mat at all if they are remotely dusty or even slightly damp.
- If you have a lot of cuts with a wet tile saw, then it can take a bit of time waiting for tiles to dry before application. (Hack: We use a hair dryer to speed up the drying time on tiles).
- You can only use Musselbound on walls, no floor applications.
To sum up, this Musselbound adhesive tile mat is a game changer for those without a lot of tools and if the project is smaller and doesn’t require a lot of cuts. The mat is truly a peel-and-stick application that is made extremely simple and cost-effective for beginners.
Musselbound Adhesive Tile Mat: YouTube Video
See the tile mat in action while we used it in our dining room in this YouTube video!
If you love DIY videos, don’t forget to subscribe to our YouTube channel!
Supplies and materials you’ll need for your tile project using the adhesive tile mat:
As you can see it’s a small list that is needed to complete the project with the Musselbound adhesive mat. You don’t need different trowels with various groove sizes, mortar, or heavy-duty drills for mixing mortar since we can just peel-and-stick on the tiles.
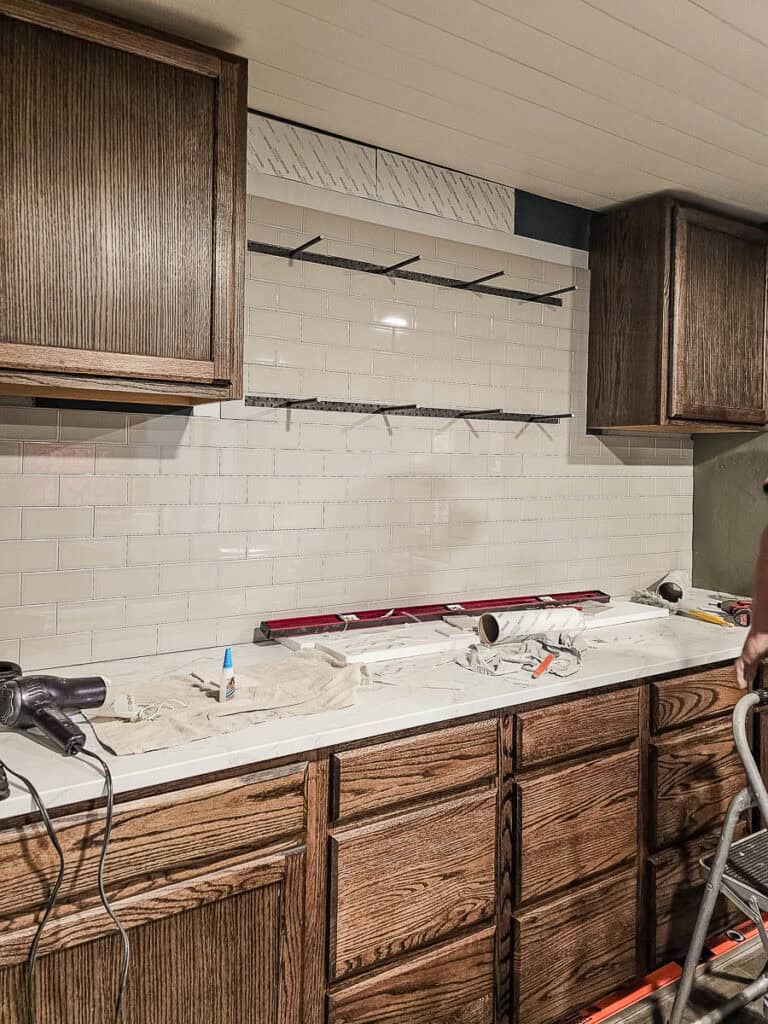
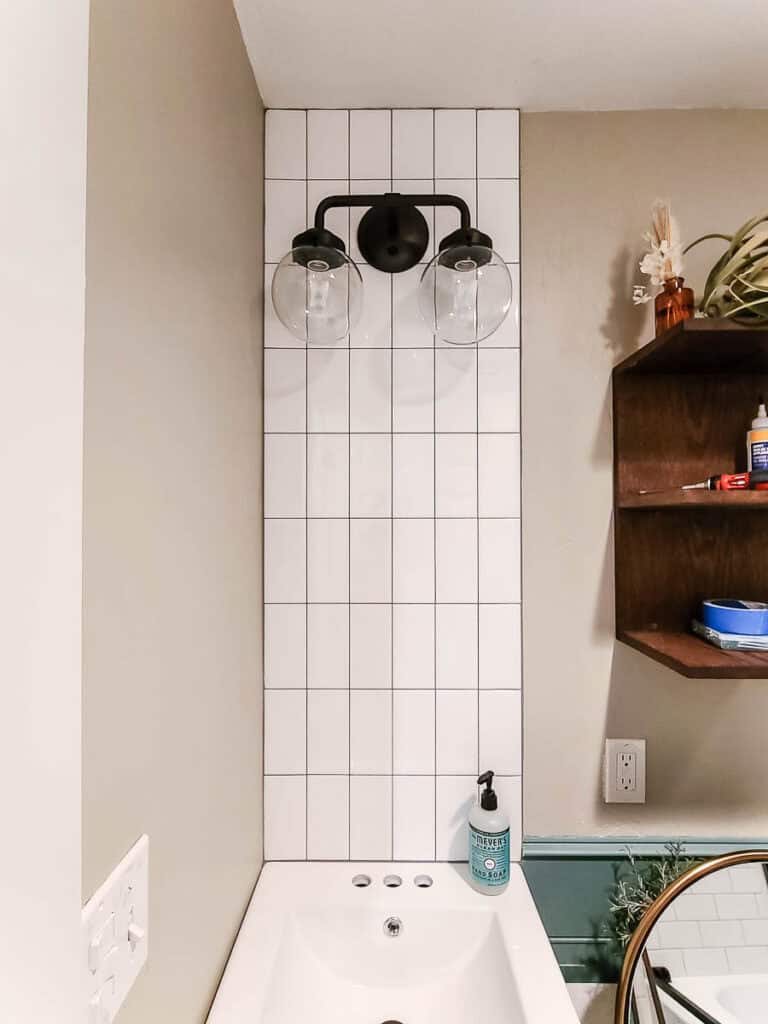
Note: We’ve used Musselbound a few different times, so I include photos from three different projects below so you can see it used in a variety of ways.
Step 1: Clean the surface
When using the Musselbound mat, one of the most important steps is keeping all your surfaces clean and clear of dust. The mat or the tiles will not stick if the surface is dusty or damp.
Clean the entire surface of the wall well before start to make sure there isn’t any grease, grim, dust, dirt or loose paint.
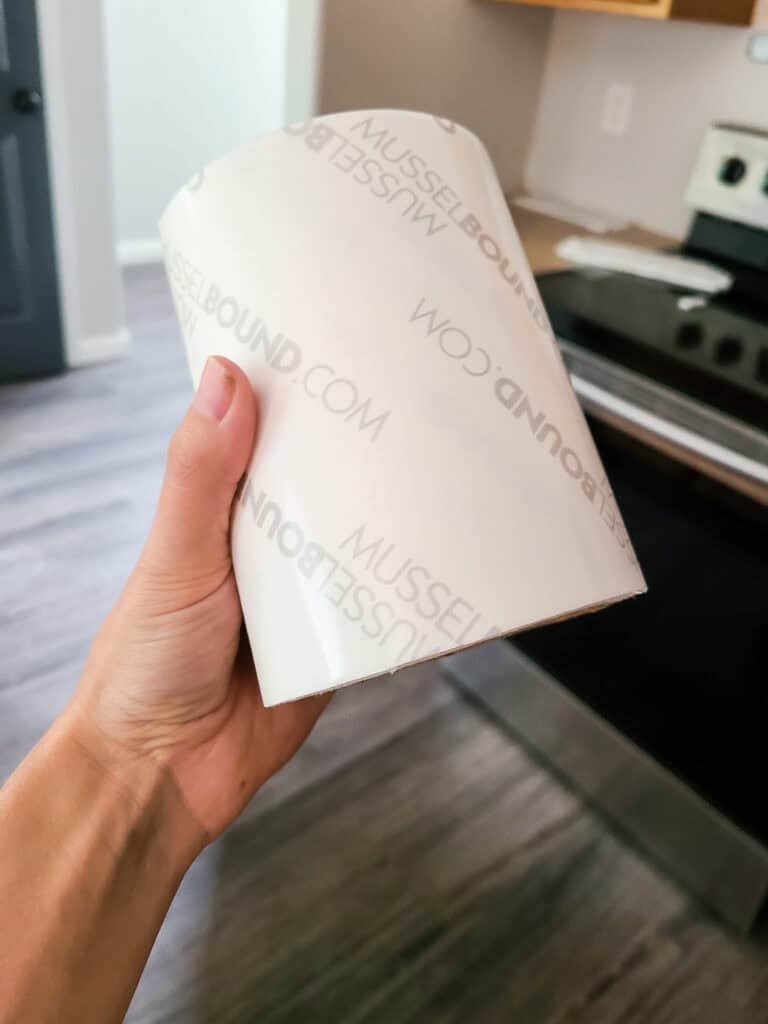
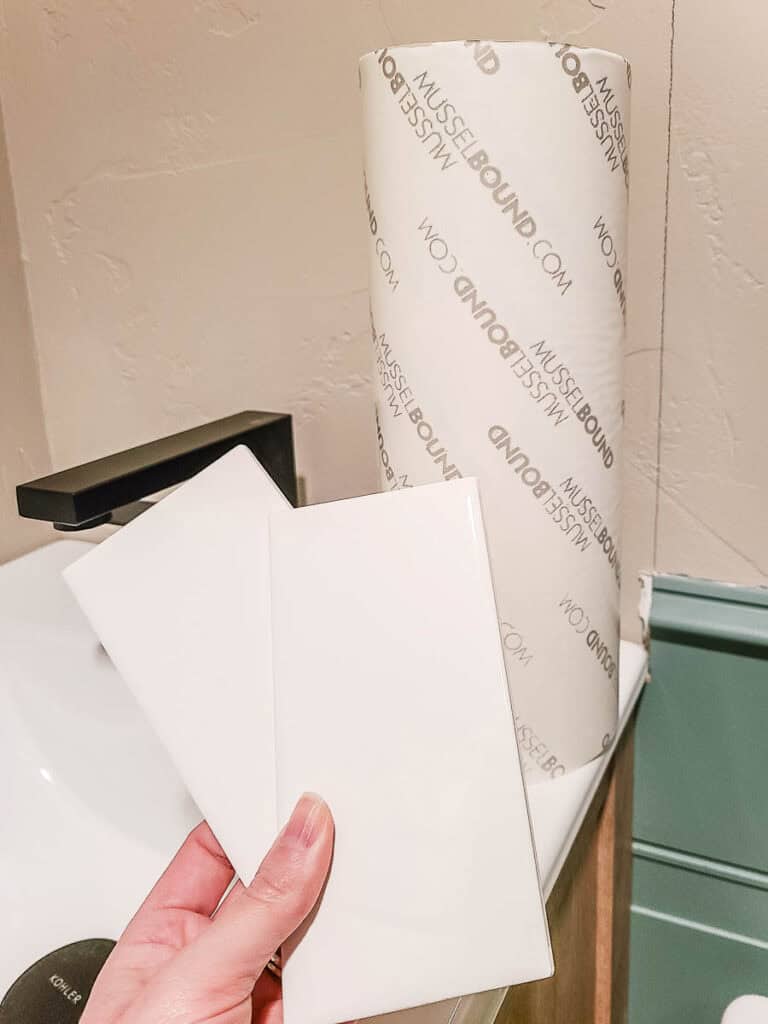
If you’re just doing a short backsplash, you can cut the Musselbound down to the size you need while it is still on the roll (see above photo) with a utility knife.
Step 2: Adhere Musselbound to the surface
Next apply the Musselbound to the walls where you’ll be tiling. Take your time to make sure and keep it as level as possible.
Start by lightly attaching the tape along the entire back wall of your area then press it on firmly. Be sure to roll or press the entire area. This helps the adhesive anchor to your surface.
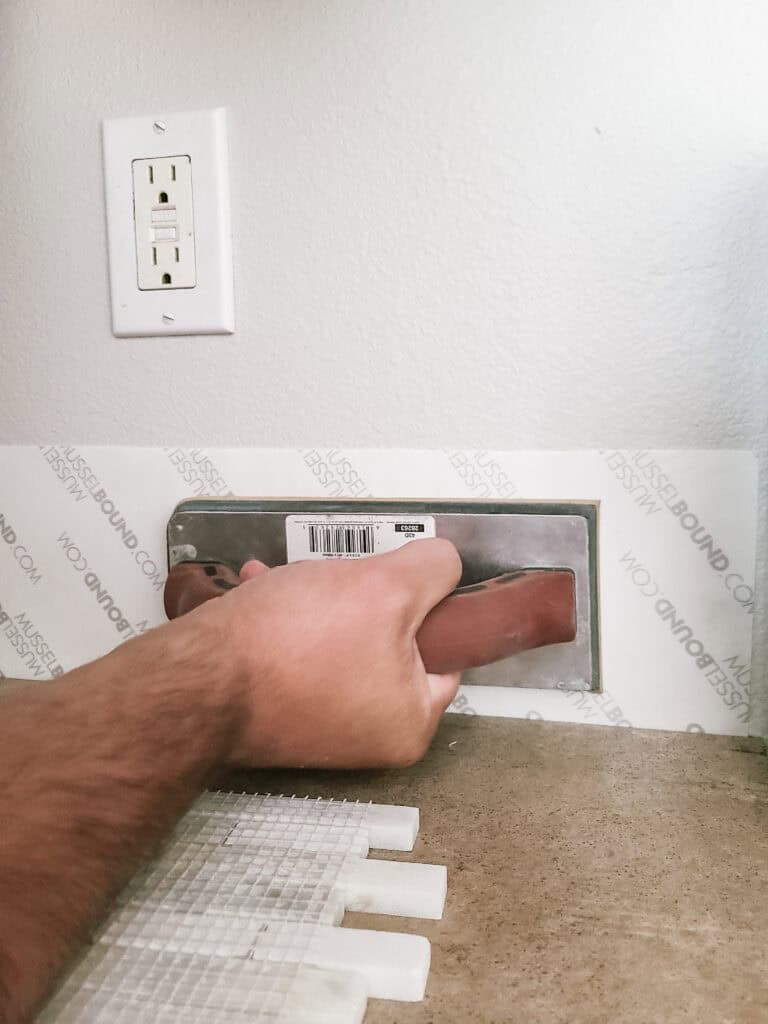
We’ve used a grout float to press the tile mat to the wall before and that worked well if you’re looking for a tool to help you out.
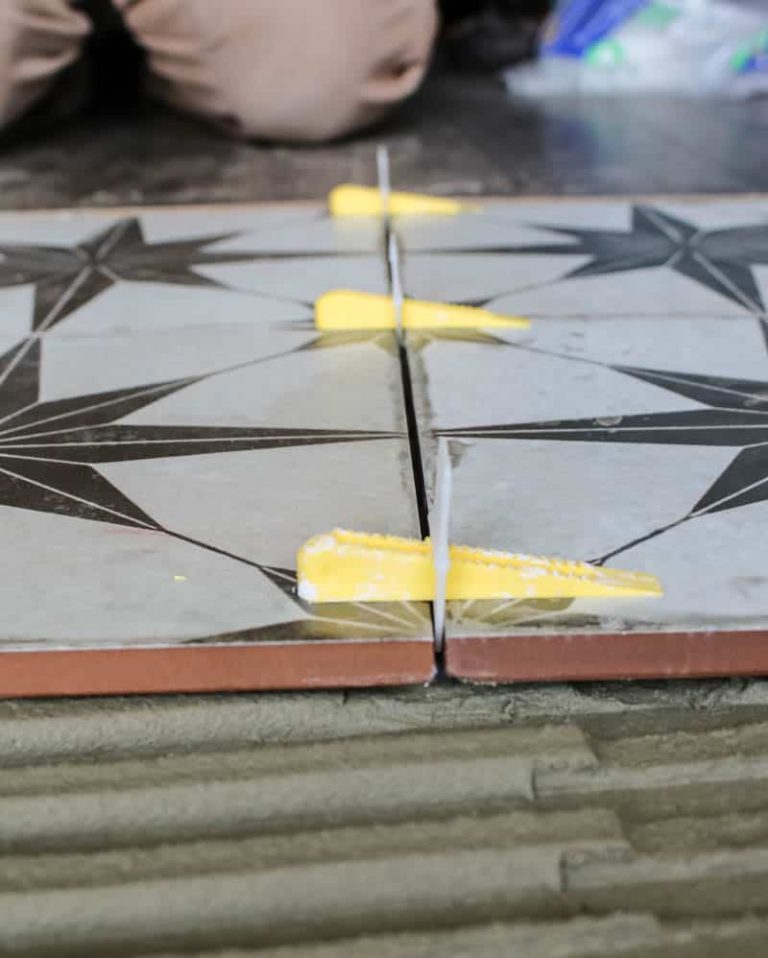
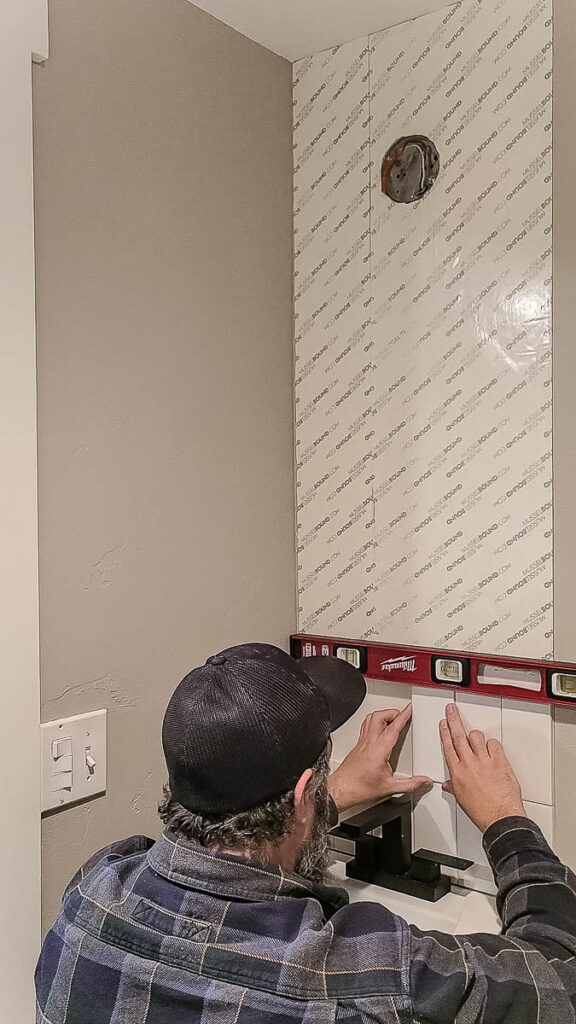
Step 3: Add the first row of tile
Your first row of tile is the most important. Take your time in applying each tile on this first row and level as you go. If the first row is level, then the rest of your tile backsplash will be easy.
Take each tile, dust them with a rag to remove dust on the back and front of the tile surface, and press them into place and hold for 30 seconds. Press the tile evenly to engage the adhesive tile mat and anchor the tile to the Musselbound.
We don’t use spacers on subway tile because the tiles have built-in ledges on the sides so you don’t need spacers. However, you also get spacers with the Musselbound mat so if you need them you can use the ones provided.
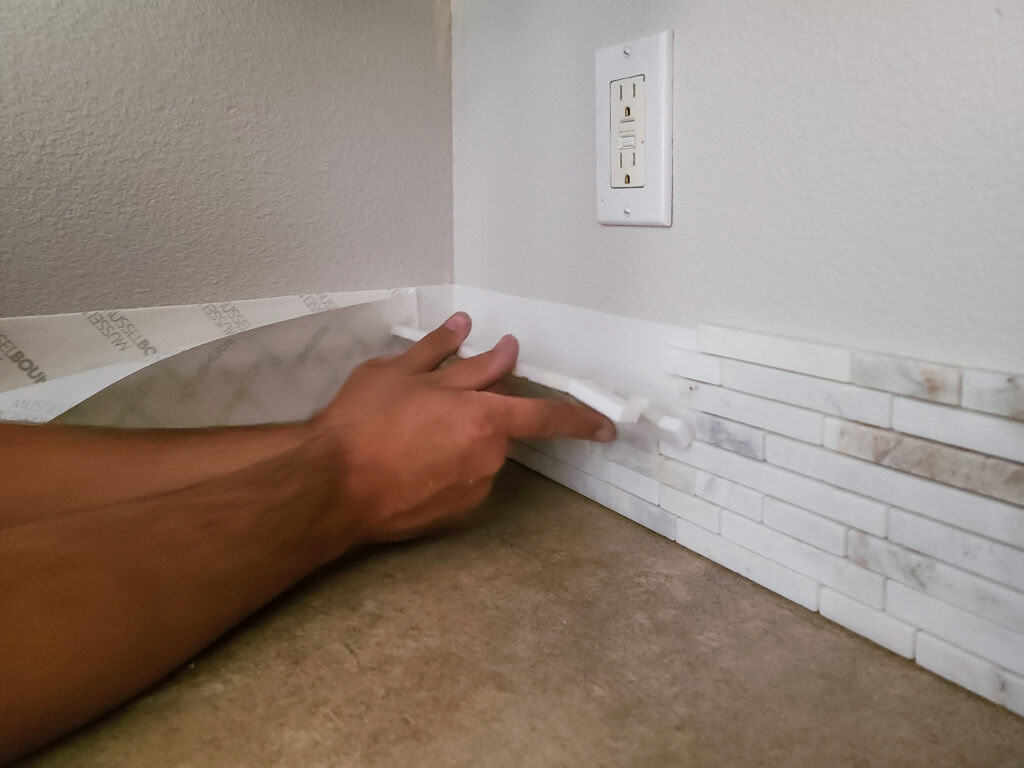
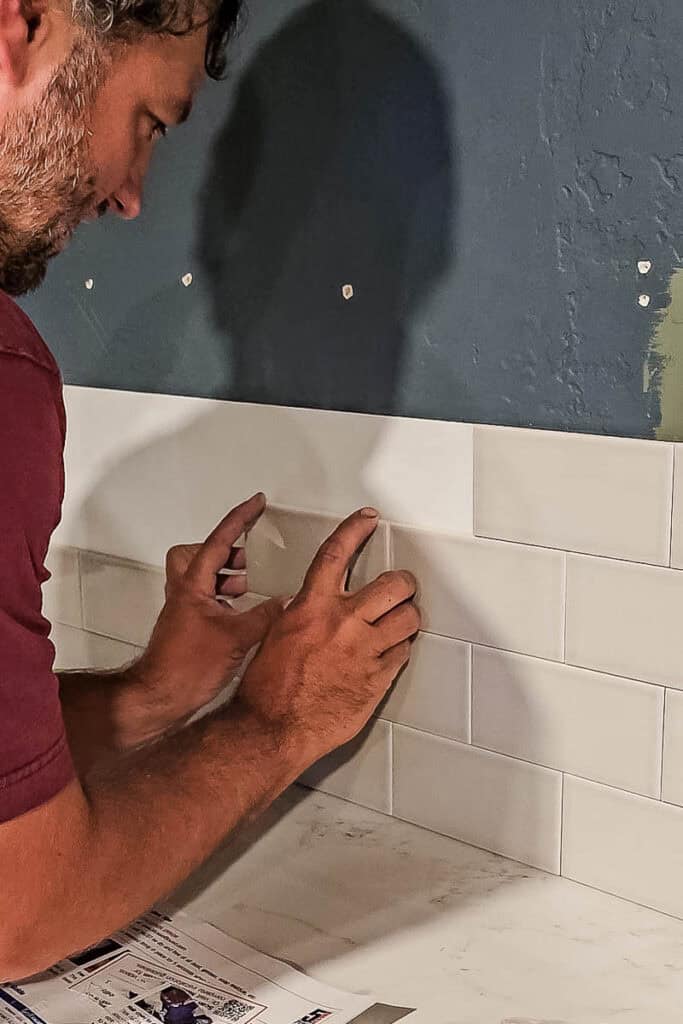
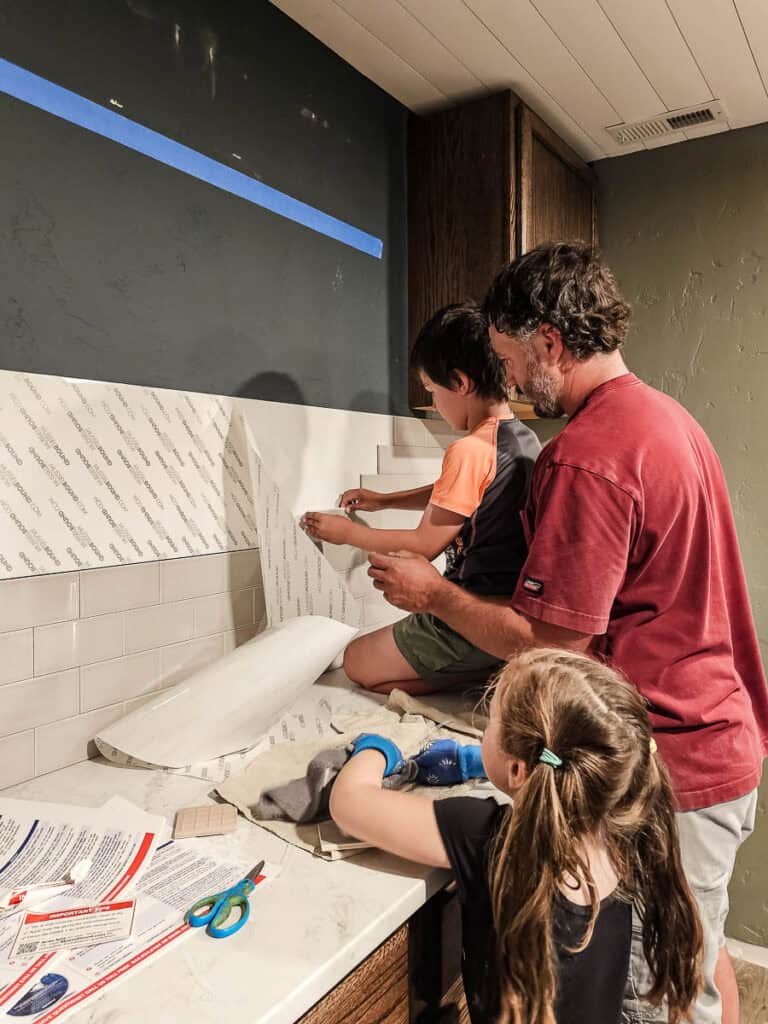
Step 4: Attach the remaining tile
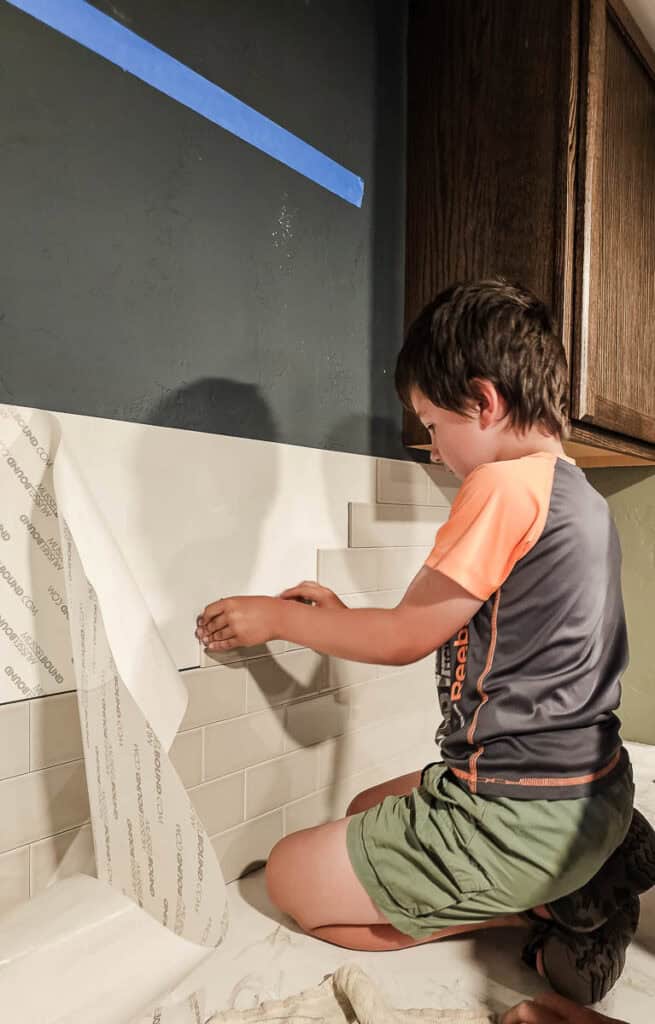
With the first row on and level, continue working your way up the wall attaching your tile. Repeat the process of dusting each tile with a rag then pressing them into place and holding for 30 seconds each.
We usually opt to cut all of our row starter pieces at once so we could dry them together. For our tile layout, we usually do a standard subway tile brick pattern so all of the cut pieces will be the same (as long as the walls are level).
This step is where mistakes are made. I know it seems like dusting off each and every tile is very tedious but it is worth it.
Do not forget to ensure that each tile is also dry as a bone after cutting with the wet saw. I made a couple of mistakes and tried to put wet tiles on and they fell right off. Lesson learned.
Step 5: Grout
This is where the advantage of the Musselbound tile mat comes into play. You can grout right away after laying your last time! No more waiting for the thin-set to cure for 24-48 hours after tiling to add fresh grout. While the mat may cost more initially you can save a lot of time by finishing the project right away.
Tips and Tricks
Tiling with the adhesive mat can be done alone but the process speeds up significantly if you have two people. You can have someone cutting and drying the tiles for you. This helps you keep the project moving while someone else focuses on the time-intensive drying and dusting of the cut tiles.
If you do mess up and accidentally put on a wet tile and it falls off, you can still just dry the tile and put it back on. The most crucial thing is never to put on a dusty tile. That will ruin that section of the adhesive tile mat.
If the mat gets dirty, you’ll have to cut out or remove the mat and restart using a fresh adhesive tile mat. This is where having a friend helping by being in charge of dusting every tile and handing them to you helps big time.

Using Tile Mat In Wet Applications (like Shower Walls or Kitchen Backsplash)
We’ve never used the Musselbound tile mat on an application where it would be wet, like a shower. According to Musselbound – you can, but you just need to use a special seam tape on the seams of the mat.
The tape is a clear 2-inch roll that has adhesive on one side and you apply it on all seams of the mats to provide waterproof protection.
Honest Review of Musselbound Adhesive Tile Mat
I personally love the Musselbound adhesive tile mat as long as it’s used properly. I wouldn’t use this for large tiling projects because the cost really starts to add up for bigger projects. But it is perfect for things like backsplash tile or accent walls. Remember you can only use it on vertical surfaces too – no floors!
I wouldn’t use this system if I had a tile pattern with a lot of cuts either. This system really excels at smaller projects that are straightforward and clean. I can tell you it’s far easier to do a 20-40 square foot backsplash without having to get mortar, mix it, or make a huge mess.
The tile mat is really easy to use – especially if it is your first time attempting a tile project. Just peel and stick with this Musselbound adhesive tile mat and it’s clean and usually done in one day. You save so much time with the mat and you make a lot less mess, so I think it is worth the extra cost for small tiling DIY projects.
Have you ever used the Musselbound adhesive tile mat?
Let us know in the comments below!